This post may contain affiliate links. Please read our disclosure policy.
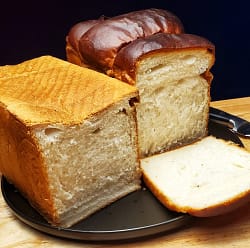
If you’ve ever dreamed of bread that’s impossibly soft, slightly sweet, and beautifully golden on top, then milk bread is the one to bake. It is also an easy bread recipe. This pillowy loaf gets its tender texture from milk and butter, which give it a rich, delicate flavor unlike any other bread. Whether you’re making morning toast, a cozy sandwich, or simply tearing off a warm piece straight from the oven, milk bread never disappoints.
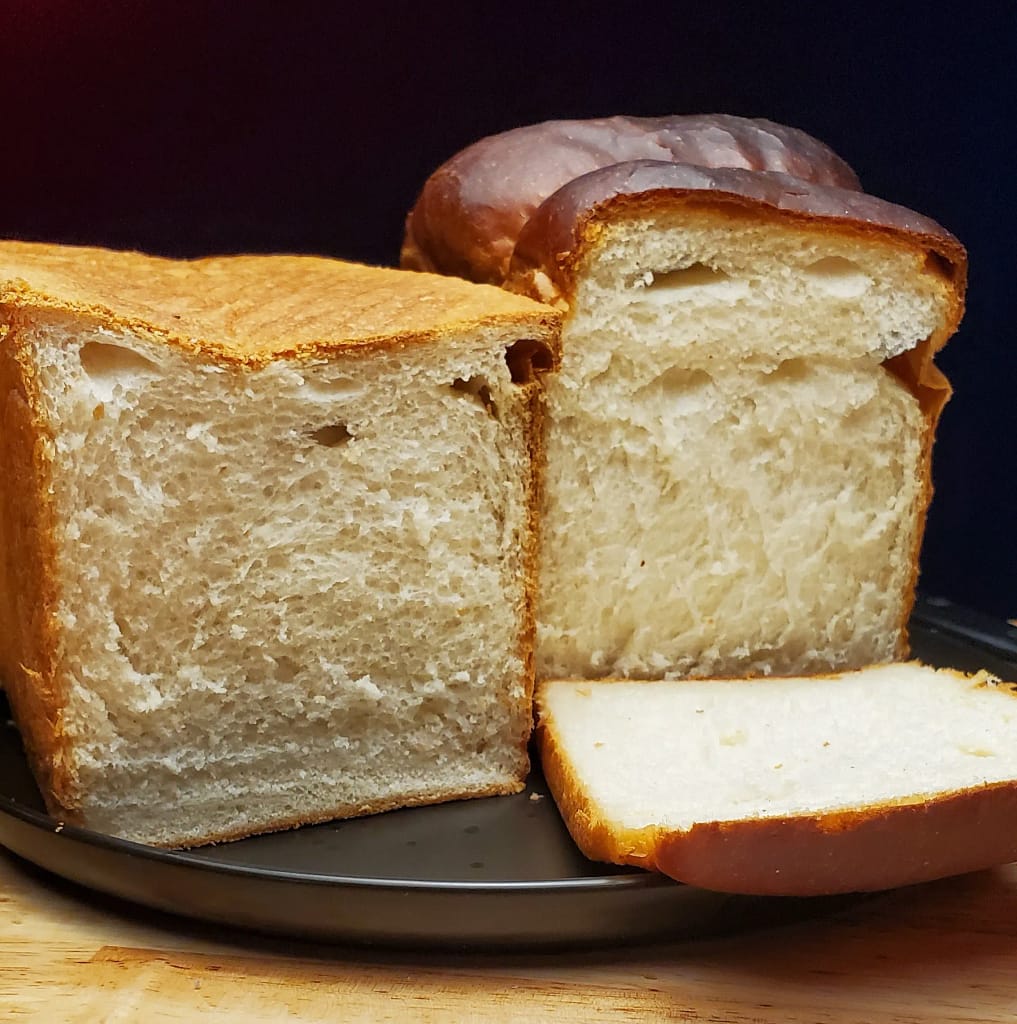
Originating in Asia and now beloved around the world, milk bread is known for its cloud-like crumb and buttery aroma. What makes it special is the gentle balance of sweetness and richness — it’s indulgent yet simple, comforting yet elegant. The dough rises high and bakes into a soft, golden loaf that stays fresh longer than most breads, making it perfect for both weekday breakfasts and weekend baking projects. You will learn how to make milk bread as you read this article and follow my recipe.
Ready to try this recipe? Check out my Baker’s Best Friend list for all the tools and ingredients you will need!!
Table of Contents
I love making this bread and freezing it so I always have bread. My family, and in particular my father, always loved fresh baked bread. So when they came over, I’d always break out loaves that I made. That being said, baking milk bread at home is easier than you might think. The secret lies in patience and care — letting the dough rise fully and shaping it gently before baking. When it emerges from the oven, the scent alone is enough to make anyone smile. Spread it with butter, drizzle with honey, or turn it into the fluffiest French toast you’ve ever had.
Why you’ll Love this Recipe

Unlike rustic artisan breads that focus on hearty crusts and chewy interiors, milk bread celebrates lightness and comfort. Its delicate sweetness and buttery aroma make every bite feel like a little indulgence. The magic lies in its enriched dough — milk adds moisture and a velvety texture, while butter and sugar give it a golden color and just the right amount of sweetness. This combination not only makes the bread taste amazing but also helps it stay soft for days after baking.
So, if you’re looking for a loaf that’s soft, sweet, and endlessly versatile, give milk bread a try. My milk bread recipe is super easy to follow. Whether you bake it for your family, for a special breakfast, or simply to fill your home with that irresistible aroma, this bread is sure to become one of your favorite recipes.
Keep reading to learn all about this easy bread recipe. Once you learned how to make milk bread and tried homemade milk bread, it’s hard to go back to store-bought loaves. It’s not just bread — it’s a warm, tender reminder of comfort and care baked into every slice.
The Secret to Milk Bread Softness
The key to traditional milk bread’s signature softness lies in the dough’s moisture and gentle kneading. Some recipes even use the tangzhong or yudane method — a cooked mixture of flour and milk (or water) — to lock in hydration and keep the bread fluffy for longer.
This simple step creates an almost feathery crumb, making the bread irresistibly light. For this recipe, we will not be using tangzhong method but focus on the moisture content and folding technique to achieve similar texture. This recipe also uses dry milk powder which is more available in a pinch than keeping liquid milk.
In order to maintain softness with my recipe, the dough requires a lot of kneading. I usually recommend using a mixer for this recipe because it require so much kneading. On my Baker’s Best Friend List, I have added my favorite mixer which will help with this recipe.
If you’ve ever struggled with dense or dry homemade loaves, milk bread might just change your baking game. The dough is forgiving and smooth to work with, and once you see it rise and bake into a golden dome, you’ll feel like a true artisan baker.
Bread Pans
Another important part of making milk bread dough is the pans you use. I love the copper colored bread pans. Lighter pans will help control browning as darker pans absorb more heat and therefore cook faster.
This is not to say that you cannot use darker pans, but you will have to pay more attention to when the bread is done as it may bake quicker.
You can also basic loaf pans if that is all you have. However, you will not get the signature bread loaf shape.
Delicious Ways to Enjoy Milk Bread
One of the best things about milk bread is its versatility. You can enjoy it in countless ways:
- Classic toast: Spread with butter, honey, or jam for a comforting breakfast.
- Sandwiches: Use it for egg salad, cucumber, grilled cheese, or even peanut butter and jelly — the softness makes every sandwich special.
- French toast: Its rich texture soaks up custard perfectly, resulting in the fluffiest, most luxurious French toast imaginable.
- Bread pudding: Transform slightly stale slices into a cozy, custardy dessert.
No matter how you serve it, milk bread adds a touch of homemade warmth to every meal. Follow my step-by-step Milk Bread Recipe to learn how to make this easy fluffy milk bread.
Latest Videos
Before You Start!! If you make this, please leave a review and rating letting us know how you liked the recipe. This helps our business to do well and continue providing free recipes.
Easy Fluffy Milk Bread
Video
Equipment
- Hand or Stand mixer fitted with dough hooks
Ingredients
- 500 g warm water 2 cups
- 40 g Sugar 3 ½ tbsp
- 16 g salt 4 tsp
- 42 g Honey 2 tbps
- 2 packets active dry yeast 14g
- 700 g All-purpose flour 5 ½ cups
- 40 g Milk Powder 1/3 cup
- 57 g softened butter 4 tbps, plus a bit extra for greasing pans
Instructions
- In a medium bowl, combine warm water, sugar, salt, and honey. Stir until honey and sugar dissolves. Sprinkle over yeast. Stir until dissolves. Let stand until foamy.
- In a larger bowl, combine flour and milk powder. Stir until combined.
- Pour yeast mixture into flour mixture. Stir until a shaggy dough forms. Dough will be sticky, but do not add additional flour. If by hand, Pour dough our onto bench and begin kneading for 2 mins. Spread dough out and add softened butter to center of dough. Cover butter with dough then use bench scraper to cut butter into dough. Keep kneading until dough is a lot less sticky and pass window pane test*. This should take 10-15 minutes.
- If using Mixer: In a stand mixer with dough hook attachment, mix dough for 2 mins, then add in softened butter. Continue to mix until dough is less sticky and passes the window pane test*(See notes).
- Grease a large bowl. Add dough to bowl. Cover and let rise in warm place for 40 minutes. Dough should have doubled.
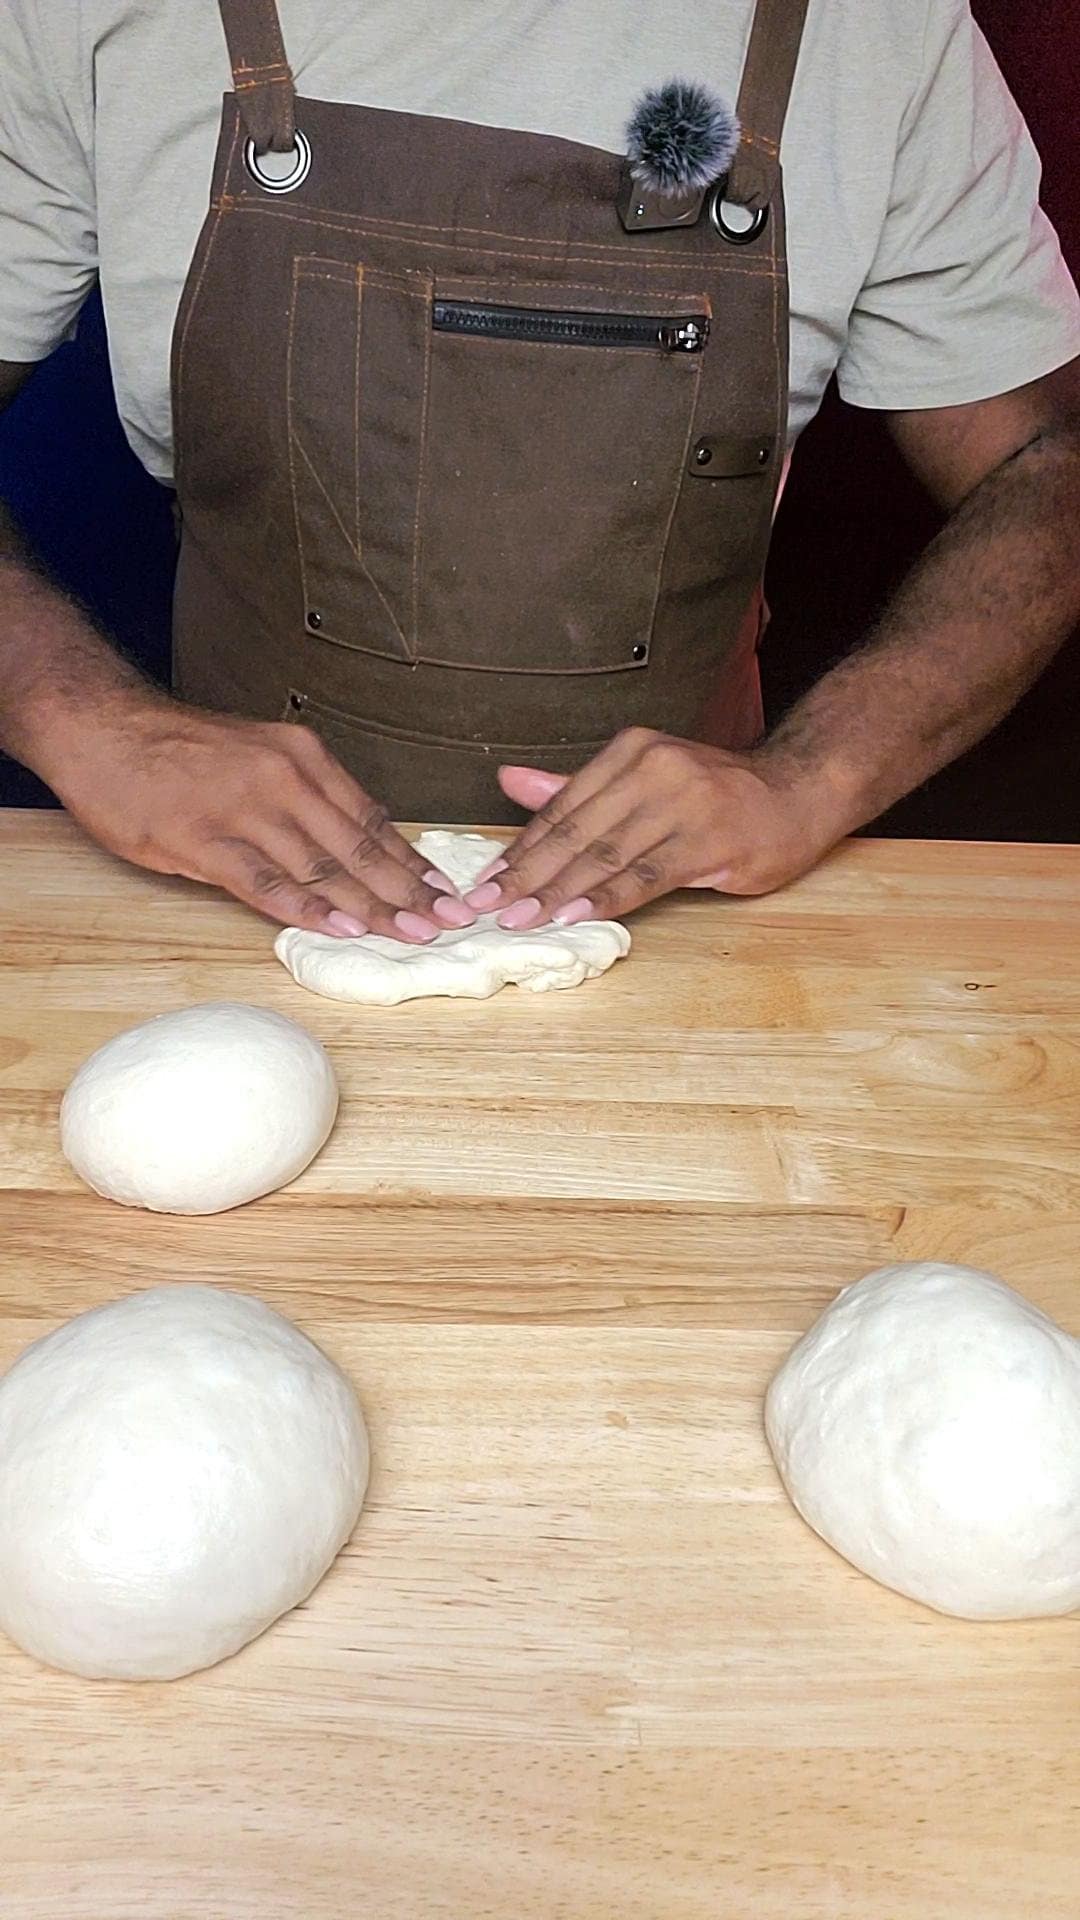
- Once dough is proofed, punch dough down. Get your kitchen scale and weigh dough. Cut dough into 6 equal pieces by weight. Roll pieces into balls. Cover and let rest on bench for about 15 minutes.
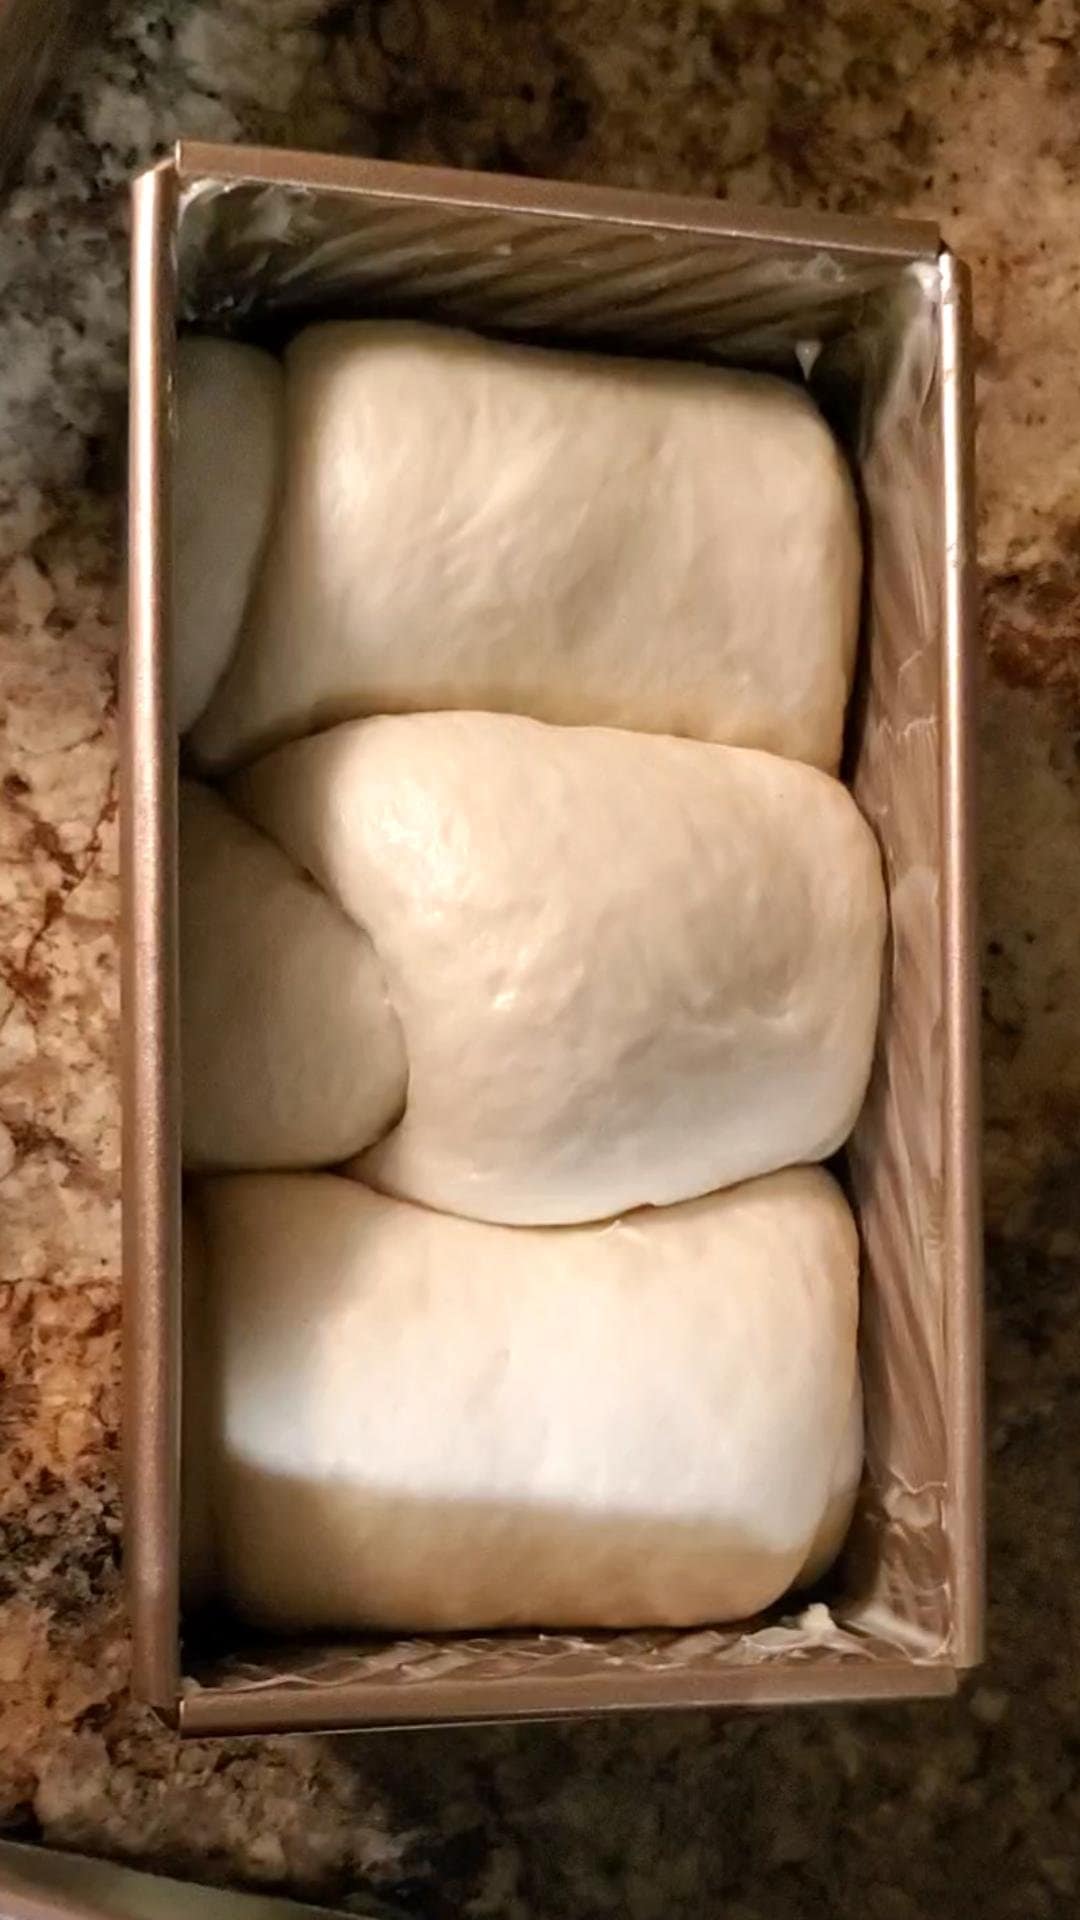
- Prepare 2 bread pans by greasing them with softened butter. Grease the lids also, if you are making square loaves.
- To make loaves, take a dough ball. Roll it out into a rectangle. Take one side and fold to the center, then folds the other side onto that fold to make a letter fold. Take the top two edges and fold towards the center. Then roll the dough towards yourself to make a roll. Do this for the remaining dough balls. There should be 3 rolls per loaf pan.
- Cover the pan with plastic wrap the let rise in warm place for an hour. 30 mins before the bread is done rising in pans, preheat your oven to 400°F.
- When dough is 70-80% the height up the pan add your lids if you are making the square bread. At the end of the second rise and if you are not using lids, spray the top of bread with water.
- Bake at 400°F for 20-30 minutes and until golden. (Always check half way through as ovens vary)
- Enjoy!!
Notes
Nutrition
More Delicious Recipes
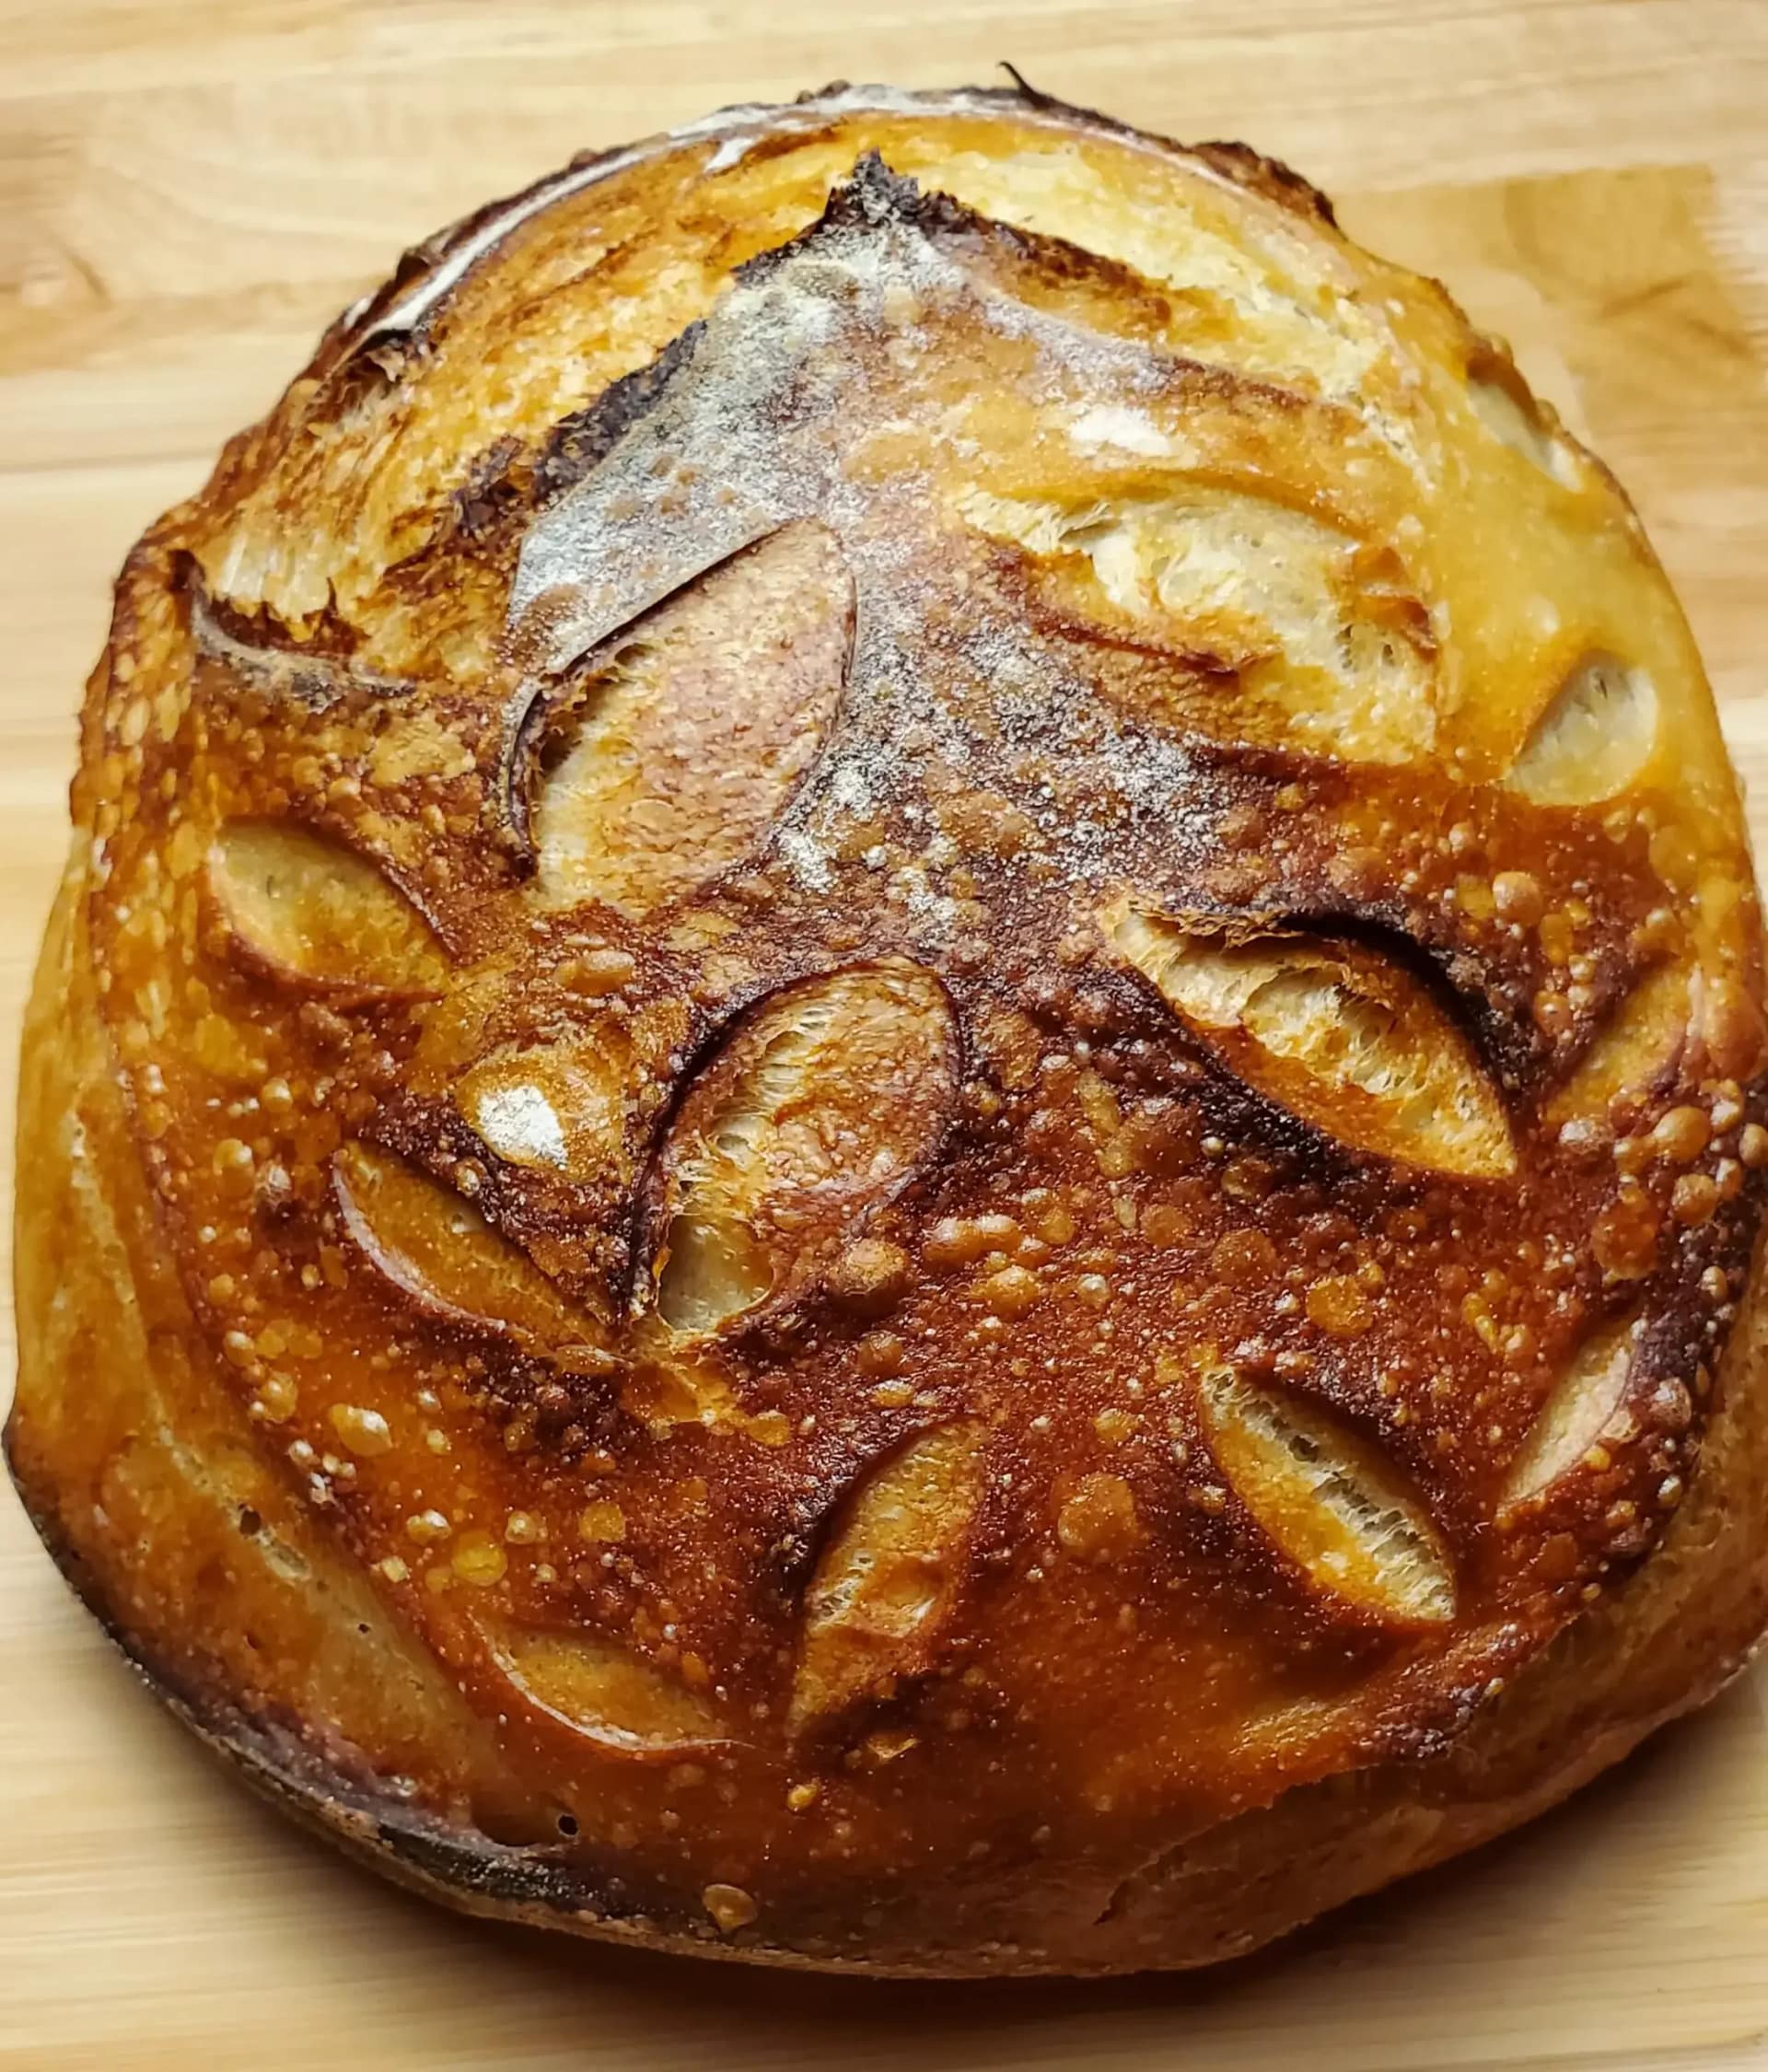
This post may contain affiliate links. Please read our disclosure policy. There’s something deeply comforting about making sourdough bread from scratch. It’s not just bread—it’s a process, a routine, and for many home bakers, like myself, a little daily ritual. From feeding your starter to pulling a golden, crackly loaf from the oven, sourdough baking feels…
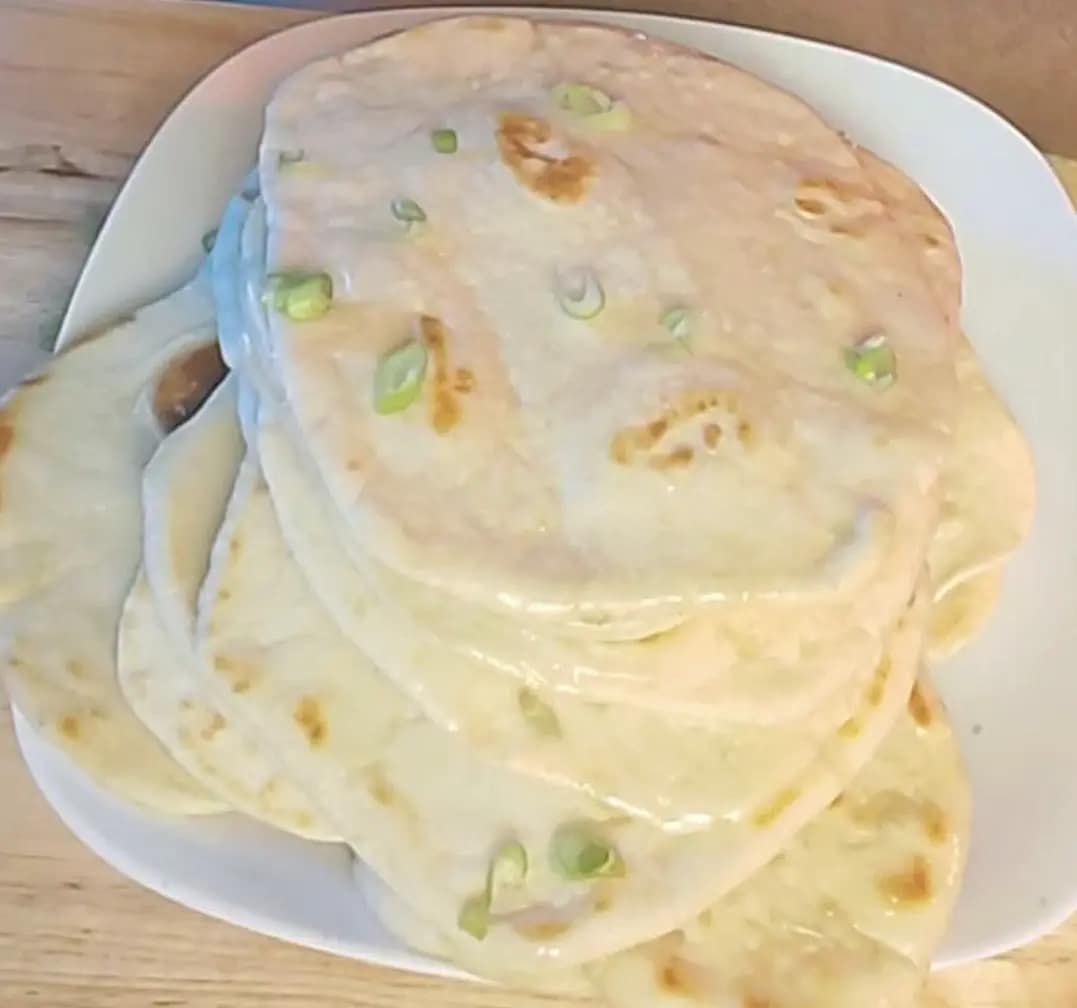
This post may contain affiliate links. Please read our disclosure policy. Fluffy Garlic Butter Naan is more than just a side dish—it’s an experience. The moment it hits the table, still warm and glistening with butter, you cannot help but crave it. The smell alone is enough to make everyone reach for a piece. It’s simple,…
This post may contain affiliate links. Please read our disclosure policy. There are desserts you enjoy, and then there are desserts you remember. Chocolate Butterscotch Cheesecake firmly belongs in the second category. It is rich, velvety, and unapologetically indulgent. This cheesecake is designed for true chocolate lovers—the kind who believe chocolate should be deep, intense, and…
This post may contain affiliate links. Please read our disclosure policy. Creating a functional sourdough starter from scratch is a great accomplishment for any baker. However, the process usually leaves a lot of discard that one has to either make use of or throw away. With today’s economy and issues, the thought of wasting flour in…

This post may contain affiliate links. Please read our disclosure policy. Icebox cookies are a classic, old-fashioned cookie that get its name from chilling the cookie dough in the refrigerator (or “icebox”) before baking. Once chilled, the dough is sliced into rounds or shapes and baked until lightly golden. The result is a tender, crisp-edged cookie…
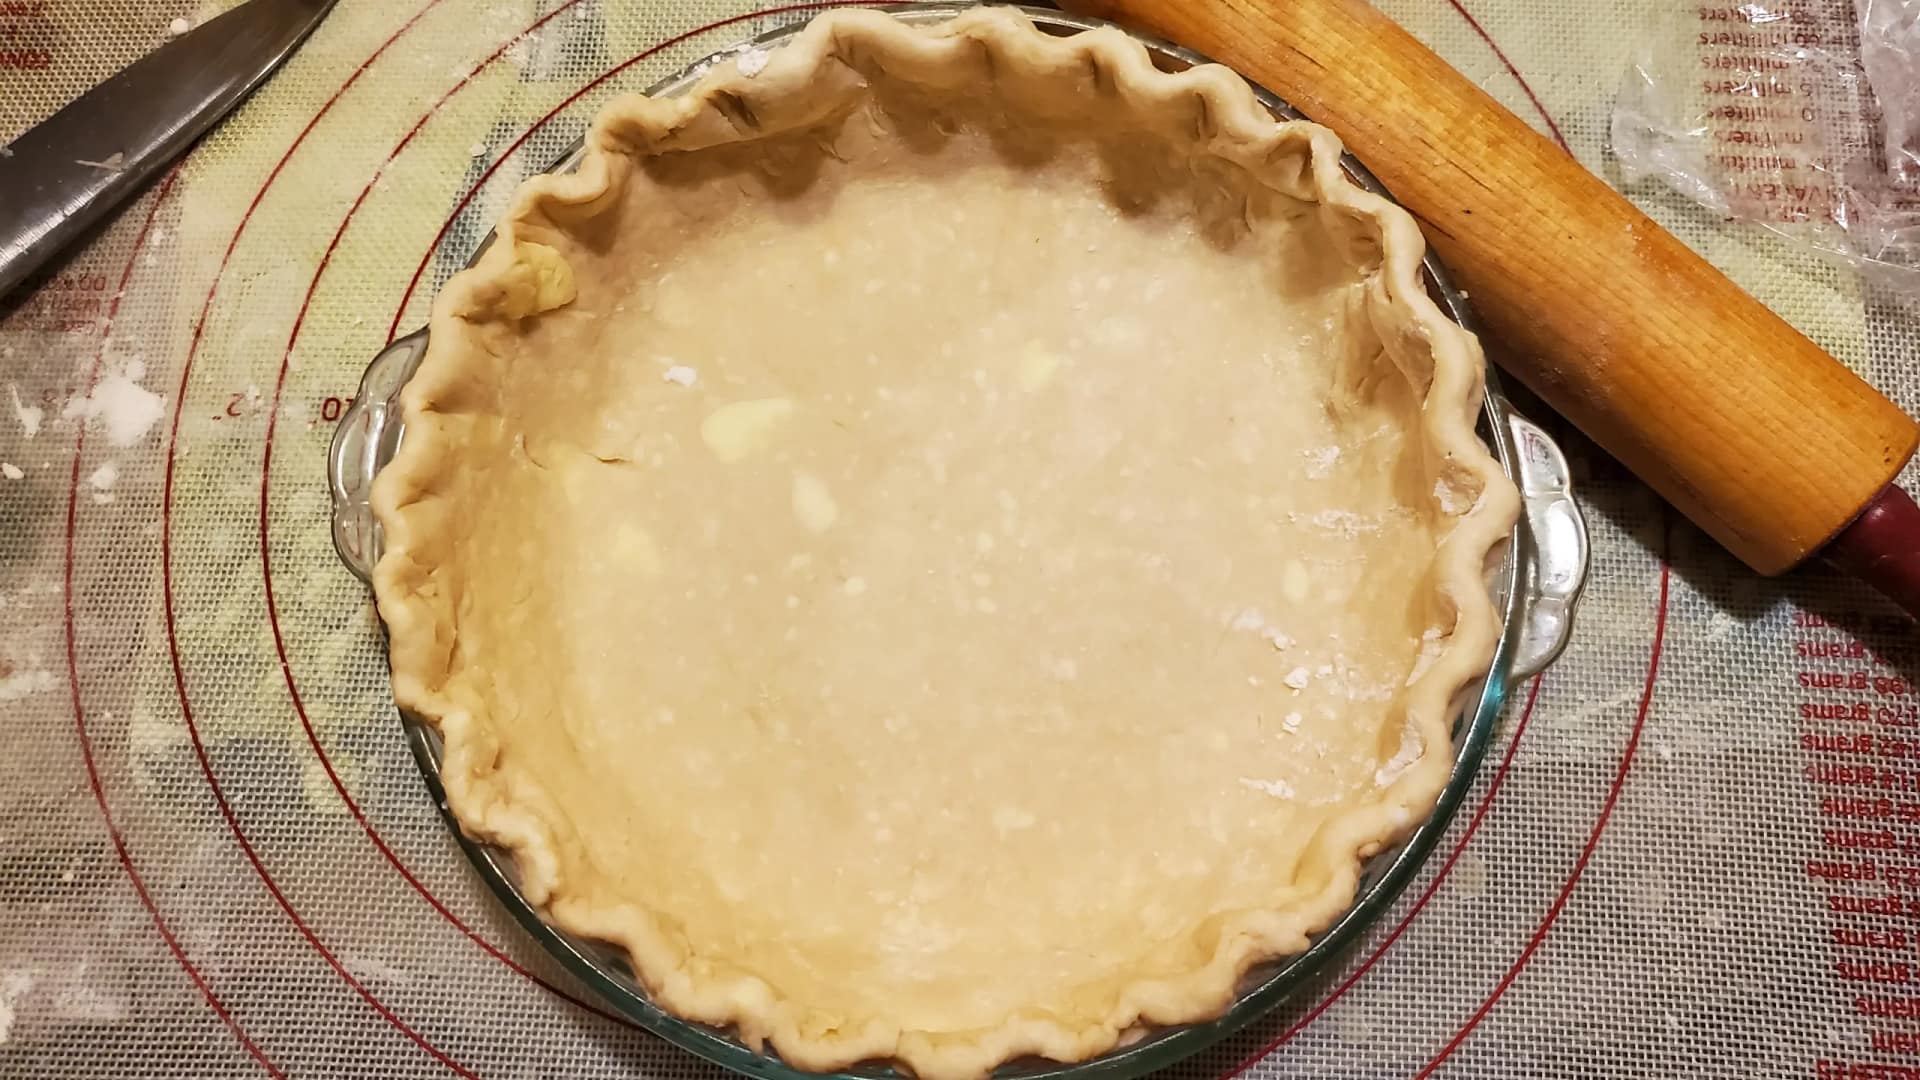
This post may contain affiliate links. Please read our disclosure policy. This is one of the easiest and flakiest pie crust recipes you will find anywhere. A flaky pie crust is truly less about ingredients and more about technique. A truly flaky pie crust is a great achievement for any baker, and is important if you…