This post may contain affiliate links. Please read our disclosure policy.
Whether you’re baking for a family gathering, creating gifts, or simply enjoying a relaxing afternoon of decorating, hand-painted sugar cookies bring a personal and elegant touch to any Easter celebrations. These no spread sugar cookies are perfect to decorate until your heart is content.
There’s something undeniably special about Easter baking—the soft pastel colors, the joyful creativity, and the memories made in the kitchen. Among all the seasonal treats, hand-painted Easter sugar cookies stand out as both a dessert and a work of art. These cookies aren’t just sweet bites; they’re tiny canvases that capture the magic of spring. My easy to follow no spread sugar cookie recipe gives you the perfect cookie to paint on as it does not spread in the oven when baking and tastes amazing.
Ready to try this recipe? Shop my Baker’s Best Friend list for all your cookie decorating essential.
Table of Contents
Why Decorated Sugar Cookies Are Perfect for Easter
Easter is all about renewal, color, and creativity—and these cookies embody all three. Unlike traditional decorated cookies that rely on piping techniques, hand-painted cookies allow for a more artistic, free-flowing style. Of course that is not to say that piping is not used here. I piped many of the cookies also. Whether piped or hand painted, these cookies are a great way to bond with others.
They’re perfect because:
They double as edible décor for your Easter table. This gets everyone in spirit of easter.
Each cookie is completely unique. Since everyone can be creative not one cookie is the same.
They’re beginner-friendly yet impressive.
They make thoughtful, homemade gifts.
From delicate florals to whimsical bunnies, the possibilities are endless.
Tips for Stunning Results
Practice first: Test your designs on parchment paper or a spare cookie
Less water is better: Too much liquid can cause colors to bleed
Let layers dry: Prevent muddy colors by allowing drying time between layers
Use fine brushes: Detail brushes make a huge difference
The Perfect Edible Paint: Royal Icing
Before painting or piping, your cookies need a smooth, dry base—this is where royal icing comes in. Royal icing is the most common icing used to decorate cookies. I must admit that I am not a fan of eating it, but when you want an icing that will dry hard and preserve the decoration, there is no beating royal icing.
Royal icing is made from:
- Powdered sugar
- Egg whites or meringue powder
- Water
- A bit of lemon juice or vanilla extract
Royal icing takes color very well and can be thinned down to the consistency you need easily with some water. I usually like to make a thicker icing for outlining and a thinner icing for flooding. If you want to paint the cookies rather than piping, you can flood each cookie with a thin layer of royal icing and let it dry completely (preferably overnight). This creates a smooth, matte surface ideal for painting.
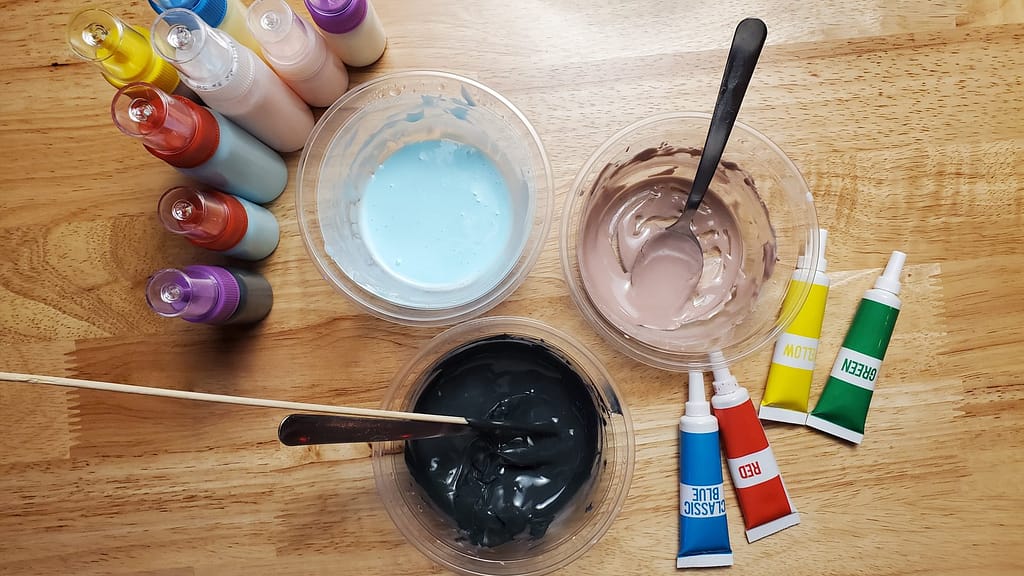
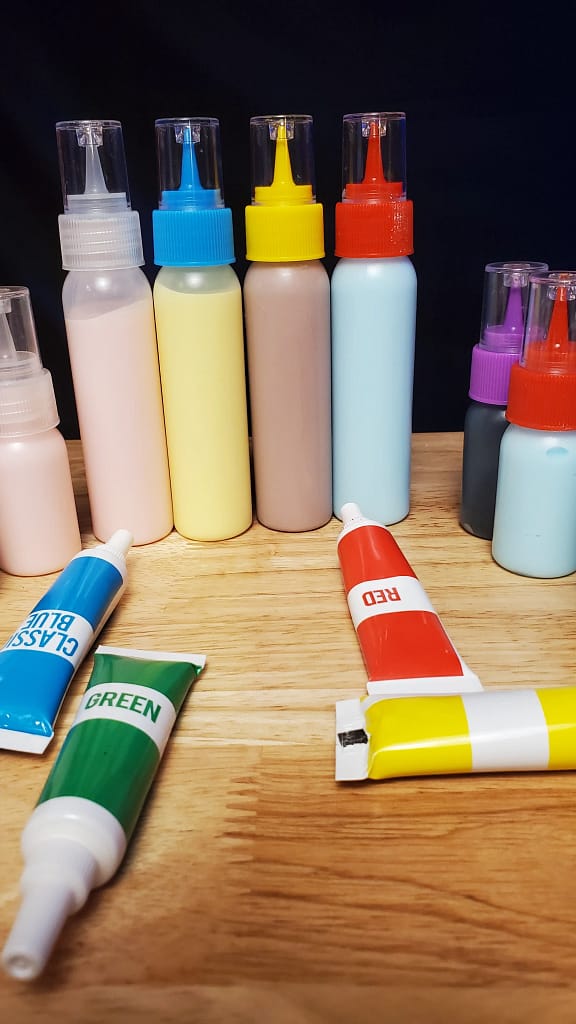
When coloring my royal icing, I usually use Ann Clarks Gel Food coloring. Their colors are super vibrant so I always recommend them. When it comes to a good black food coloring, I will either use Ann Clark or Wilton Black Food Coloring because both are super dark.
Ready to grab some gel food colorings? Shop my Cookie Decoration Hub to get all your cookie decorating and gifting essentials.
Piping and Tools
Having the right equipment is very important if you want great results while decorating your sugar cookies. This is not to say that you need to break the bank. You simple need good piping bags or food-safe paint brushes. I usually prefer high quality disposable piping bags for sugar cookie decorating because this process requires many different royal icing colors and consistencies.
However, piping bags can be finicky because if you cut the hole too big you pipe too much icing. A good beginner-friendly alternative to piping bags is some food grade quality piping bottles. They make piping easier in that you don’t have to worry about cutting the tips of the bags just right. You just fill the bottles with your royal icing and you are all set to decorate.
Since these are easter cookies, it is important to have proper Easter cookie cutters. I used Ann Clark Easter Cookie Cutters but use any cookie cutters that are sharp and will allow you get crisp edges.

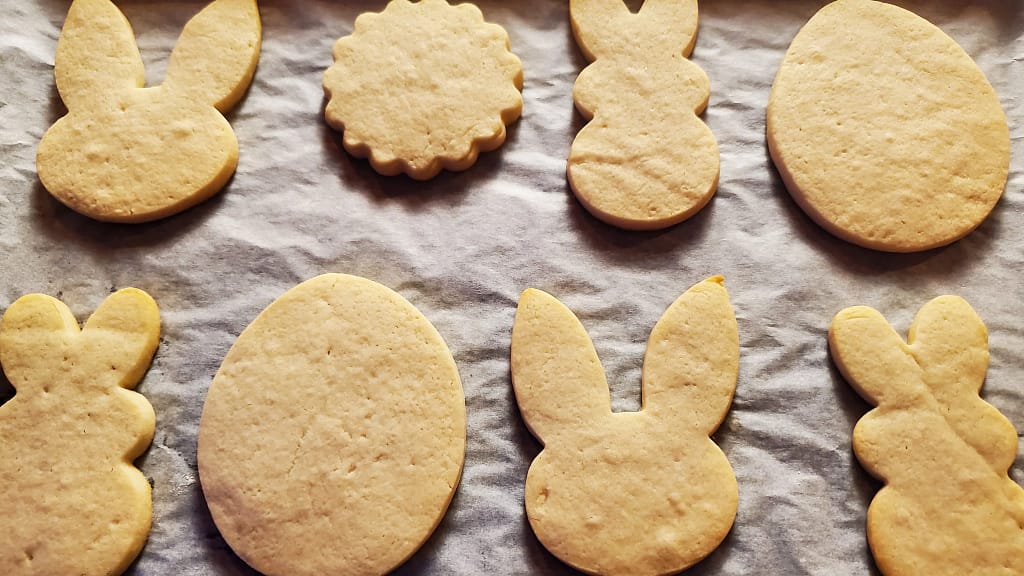
The Perfect Base: No Spread Sugar Cookies
Yes painted cookies can be very beautiful and festive, but we cannot forget the base of the cookie which is the sugar cookie itself. This recipe is a little less sweet than my usually Jumbo Sugar cookie recipe. This is to keep the cookies from spreading. This is also to make the sweetness of the cookie, when it has been iced, more enjoyable. I don’t enjoy sickeningly sweet things so this balances the sweetness to be just right when the cookies are iced.
The flavor of the sugar cookies are super buttery and a bit nutty from the almond extract. The texture of the cookies is firm, yet crumbly.
When decorating cookies, the base should:
- Hold its shape during baking
- Have a smooth surface for painting
- Taste buttery and rich
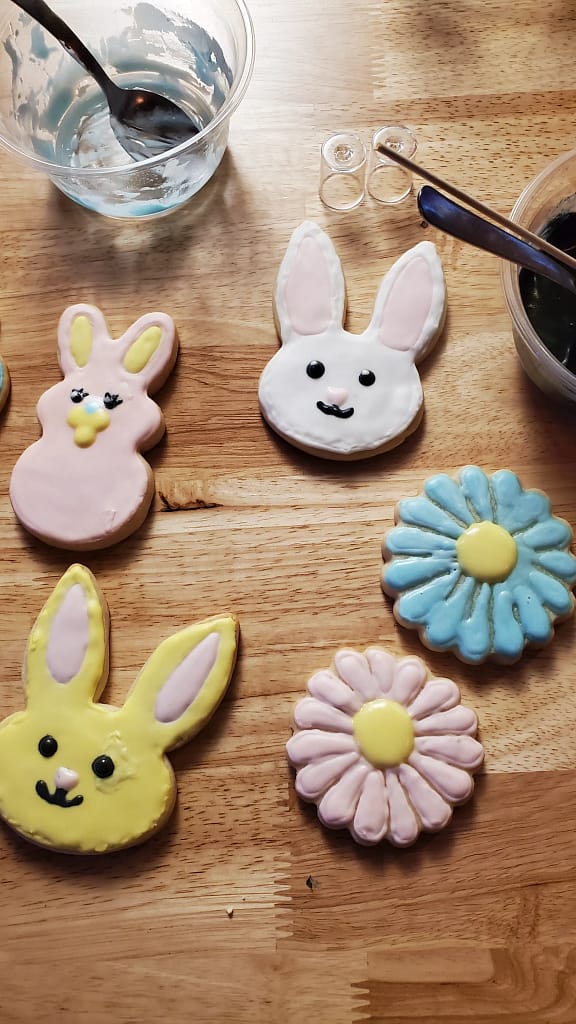
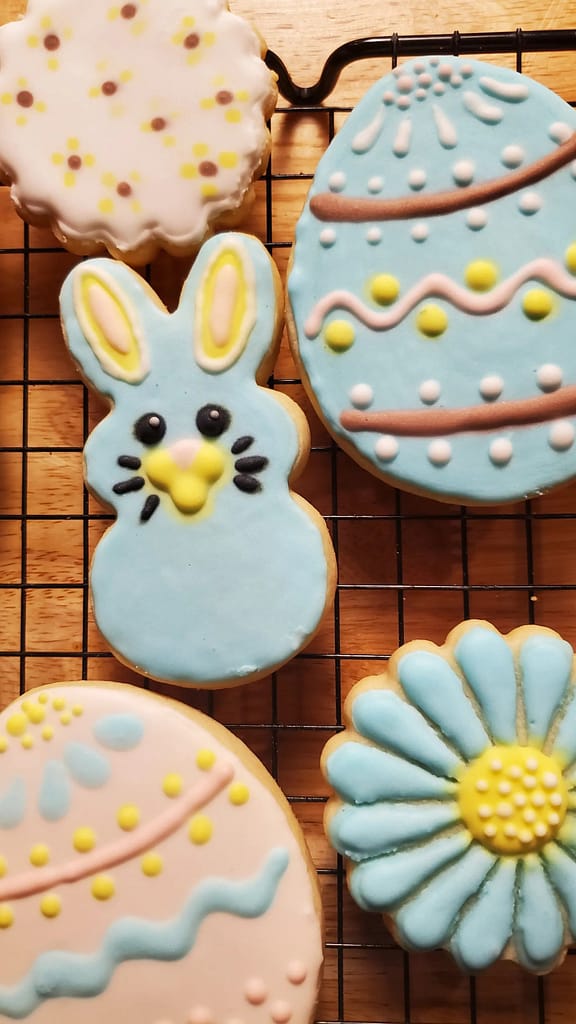
Easter Cookie Designs
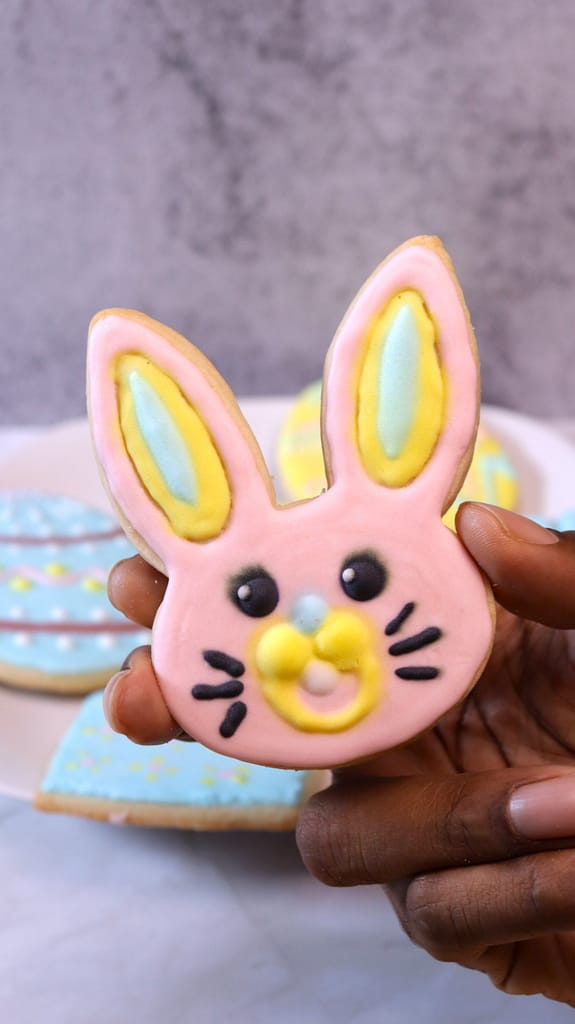
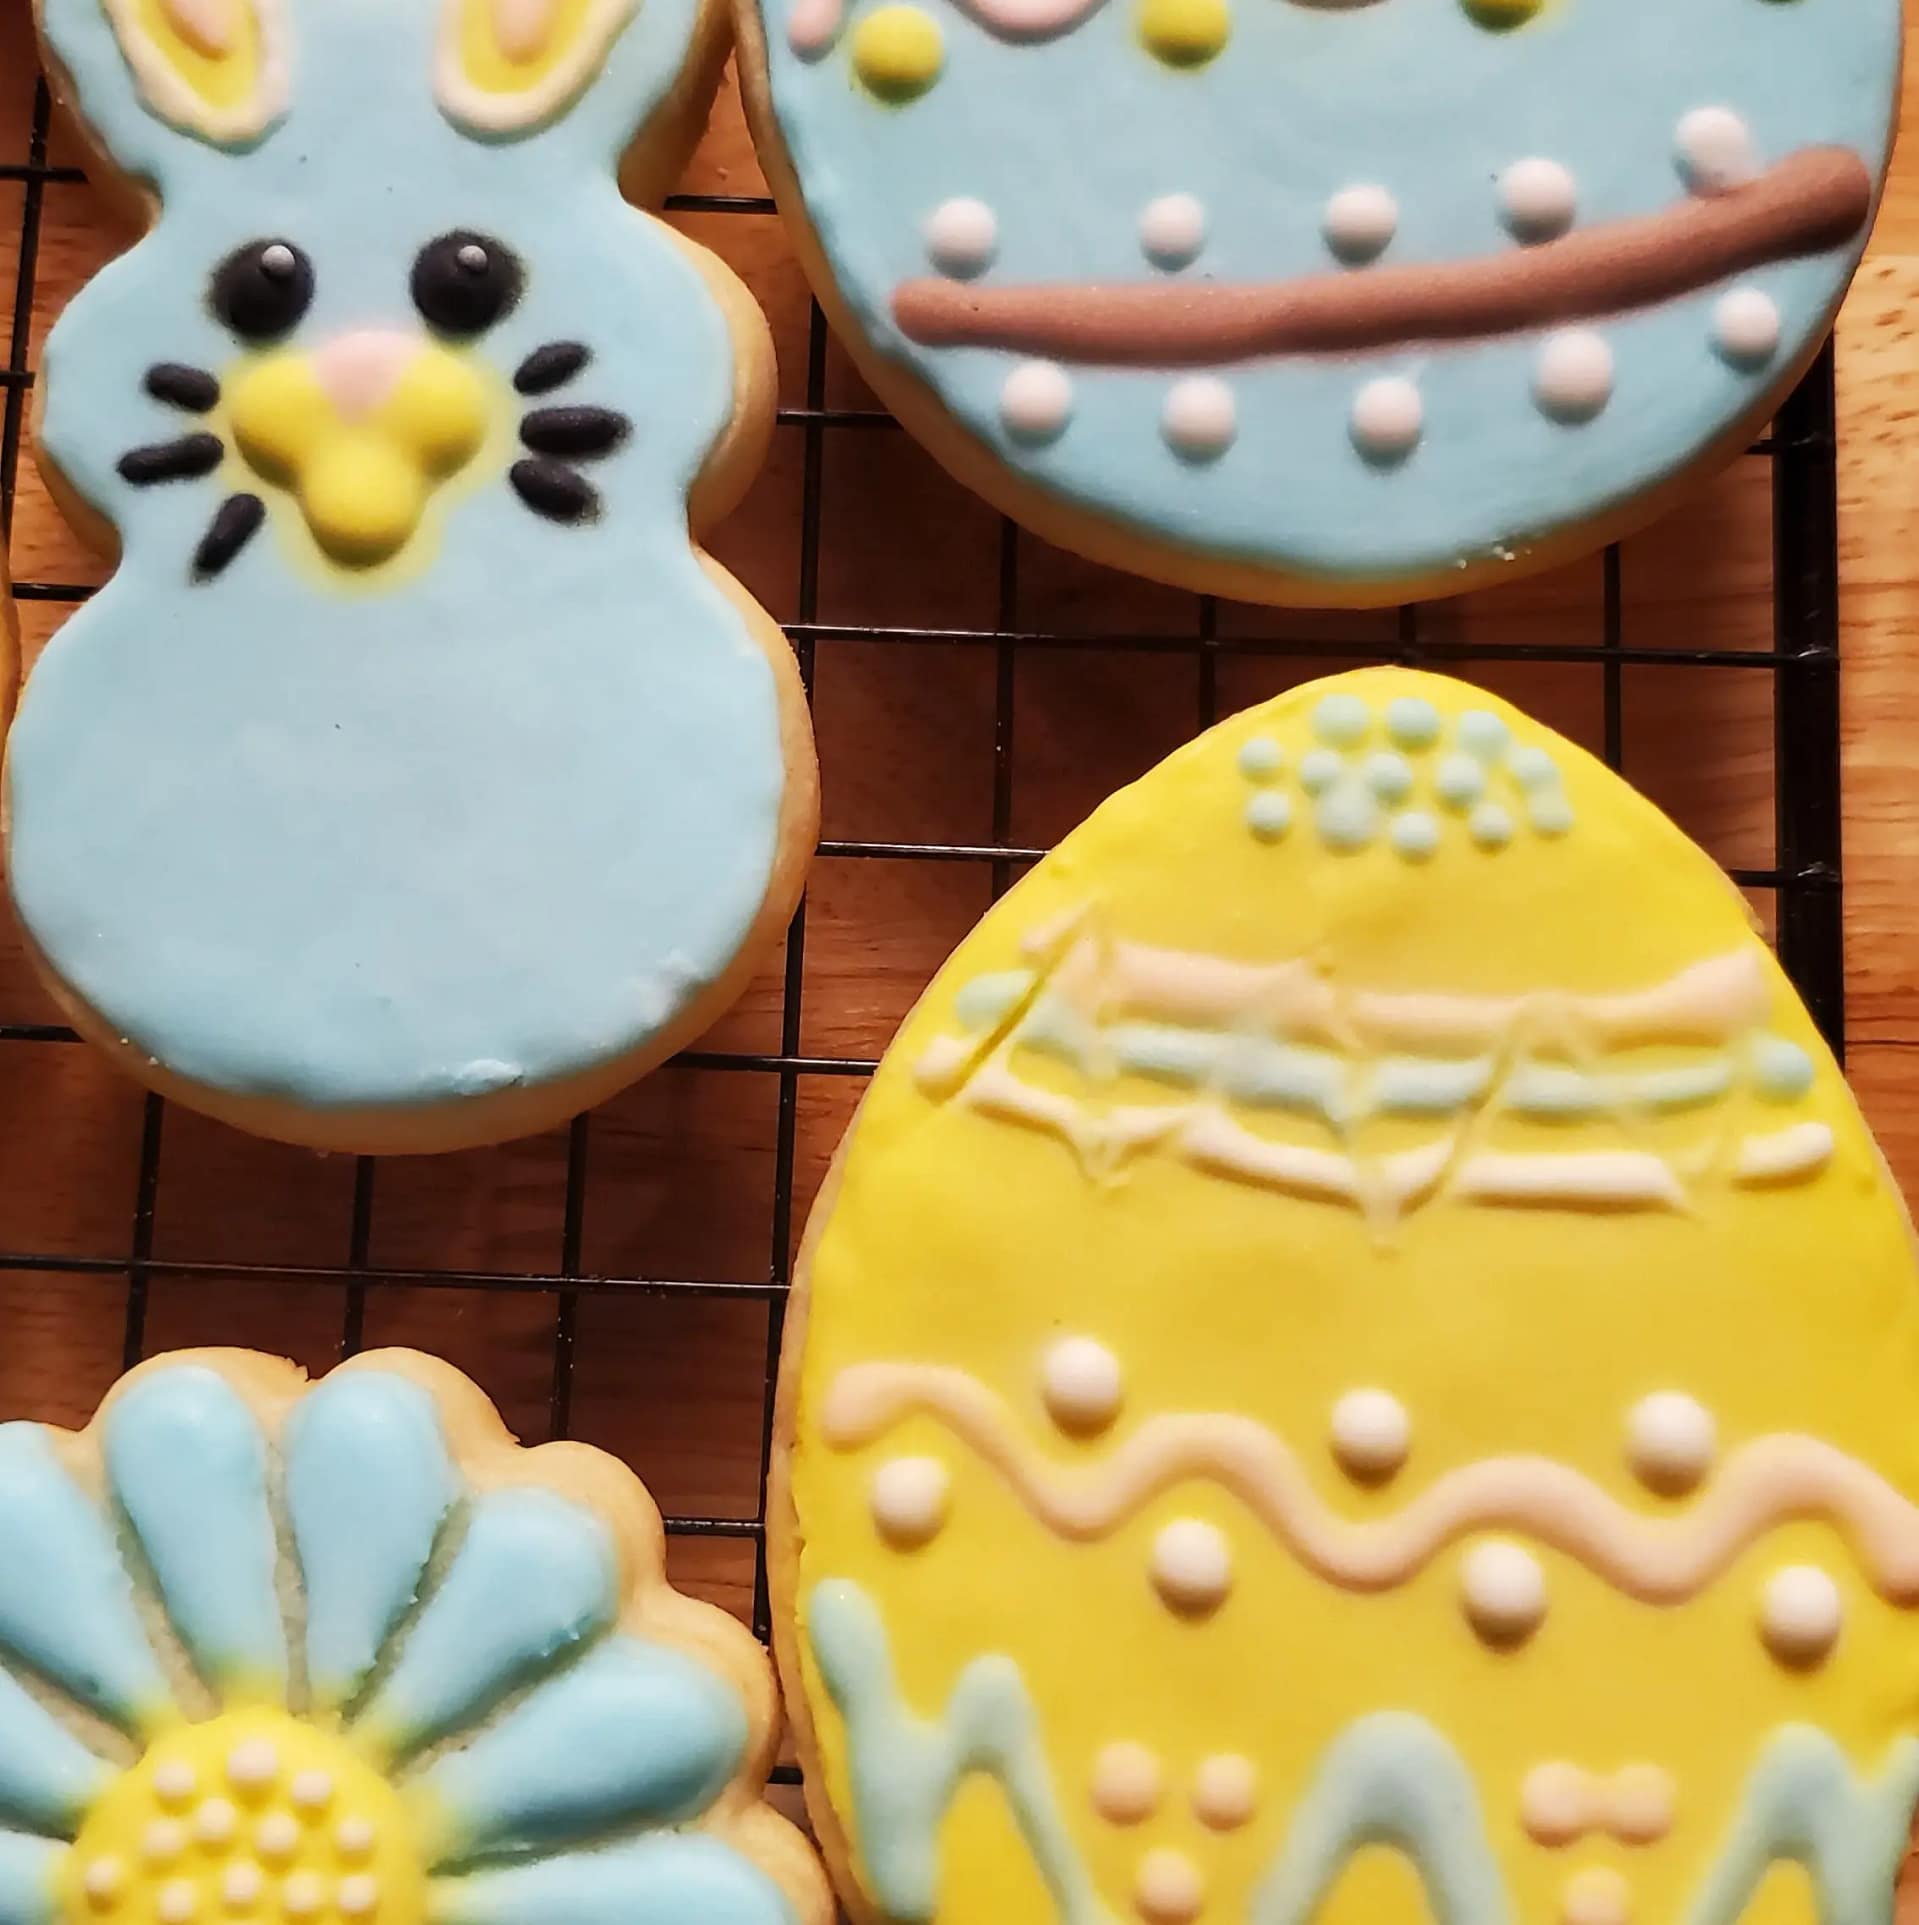
Bunny Cookie
Outline Bunny Cookie in pink piping consistency royal icing. Draw two oval holes on the ears with the same piping consistency icing and allow to crust over for 2 minutes.
Flood the cookie outline with pink flood consistency icing, being sure to leave the inside of the ears free of icing. Allow to crust over another 2 minutes.
Fill the ears with yellow piping consistency icing letting the icing dome slightly for detail. For the eyes, pipe two small circles, keeping them proportionate as possible, and allowing them to mound. Allow to dry for 2 minutes.
Pipe the mouth by piping two mounds of icing close together and pipe a little u-shape. (Thicker icing makes this easier). Pipe a little nose in light blue icing at the top of the two yellow mounds. Allow to crust over.
Add the dots in white icing on the eyes. Pipe the teeth on the bottom of the yellow mounds. Pipe on the three whiskers on each side of the rabbits face. Pipe light blue ovals on top of the yellow in the ears.
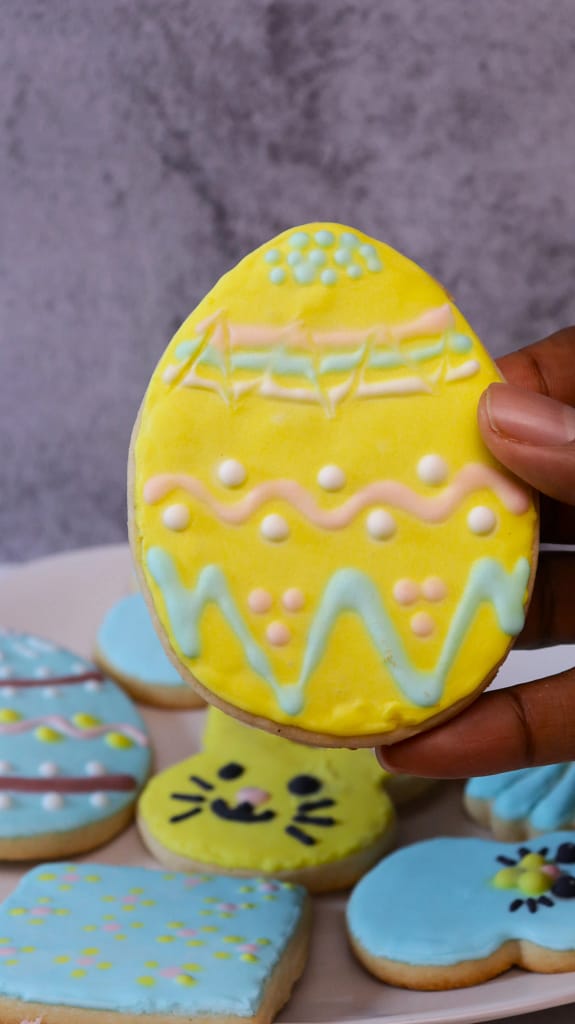
Egg Cookie
Using piping consistency yellow icing, pipe an outline around perimeter of cookie. Allow to crust over for about 2 minutes.
Flood the cookie using flood consistency yellow icing. Allow to dry for 5 minutes.
At the top of the egg, pipe dots of light blue icing. Pipe medium thick lines of pink, blue, and white. Using toothpick drag through the lines to make a zigzag pattern.
Pipe a medium thick smoother wave of pink icing across the middle of cookie. Dot mounds of white icing between the waves of the line.
At the bottom of the cookie, zigzag blue icing. Pipe three dots between the waves of the of the zigzag pattern.
Packaging & Gifting Ideas
These cookies make beautiful Easter gifts with just a little extra effort:
- Wrap individually in clear bags with pastel ribbons or in self ceiling cellophane bags.
- Arrange in decorative boxes or baskets
- Pair with tea or coffee for a thoughtful treat set. I personally love nice loose leaf tea variety packs to gift with my cookies.
The cookies are perfect for:
- Easter brunch favors
- Teacher gifts
- Spring celebrations
I have compiled many gift wrapping items that will make your edible gifts pop. Check out my Cookie Decoration Hub. Shop Now!
Save This Recipe!
Enter your email address and we’ll send it straight to your inbox.
My Latest Videos
Before You Start!! If you make this, please leave a review and rating letting us know how you liked the recipe. This helps our business to do well and continue providing free recipes.

Easter Sugar Cookies (No Spread Cookies)
Video
Ingredients
- 2 sticks butter, softened 226g
- ⅔ cup granulated sugar 130g
- 1 large egg
- 1 tsp vanilla extract 3g
- 1 tsp almond extract 3g
- 1 tsp salt 4g
- 2½ cups all-purpose flour 300g
Instructions
- Prepare two large cookies sheets with parchment paper, and set aside.
- To a large mixing bowl, add the butter and sugar. Using a hand mixer, blend until light and fluffy.
- Add in egg, vanilla extract, and almond extract. Blend until well combined. Mixture should look smooth and fluffy.
- Switching to a spoon, mix in the flour and salt until a smooth stiff dough forms.
- Between two sheet of parchment paper, use a rolling pin to flatten the cookie dough to about ¼ of an inch thick. Put the now flattened cookie dough in the refrigerator to chill for about 1hrs.
- Preheat oven to 350℉.
- Pull the cookie dough from the fridge. Using your cookie cutters, cut out your desired shapes and place them on the prepared cookies sheets. Pop the now cut-out cookies back in the refrigerator for an additional 10-20 minutes.
- Baking cookies at 350℉ for about 10-11minues or until bottom of cookies are golden.
- Paint cookies with royal icing or butter cream icing as desired.
- Enjoy!
Notes
Nutrition
More Delicious Recipes
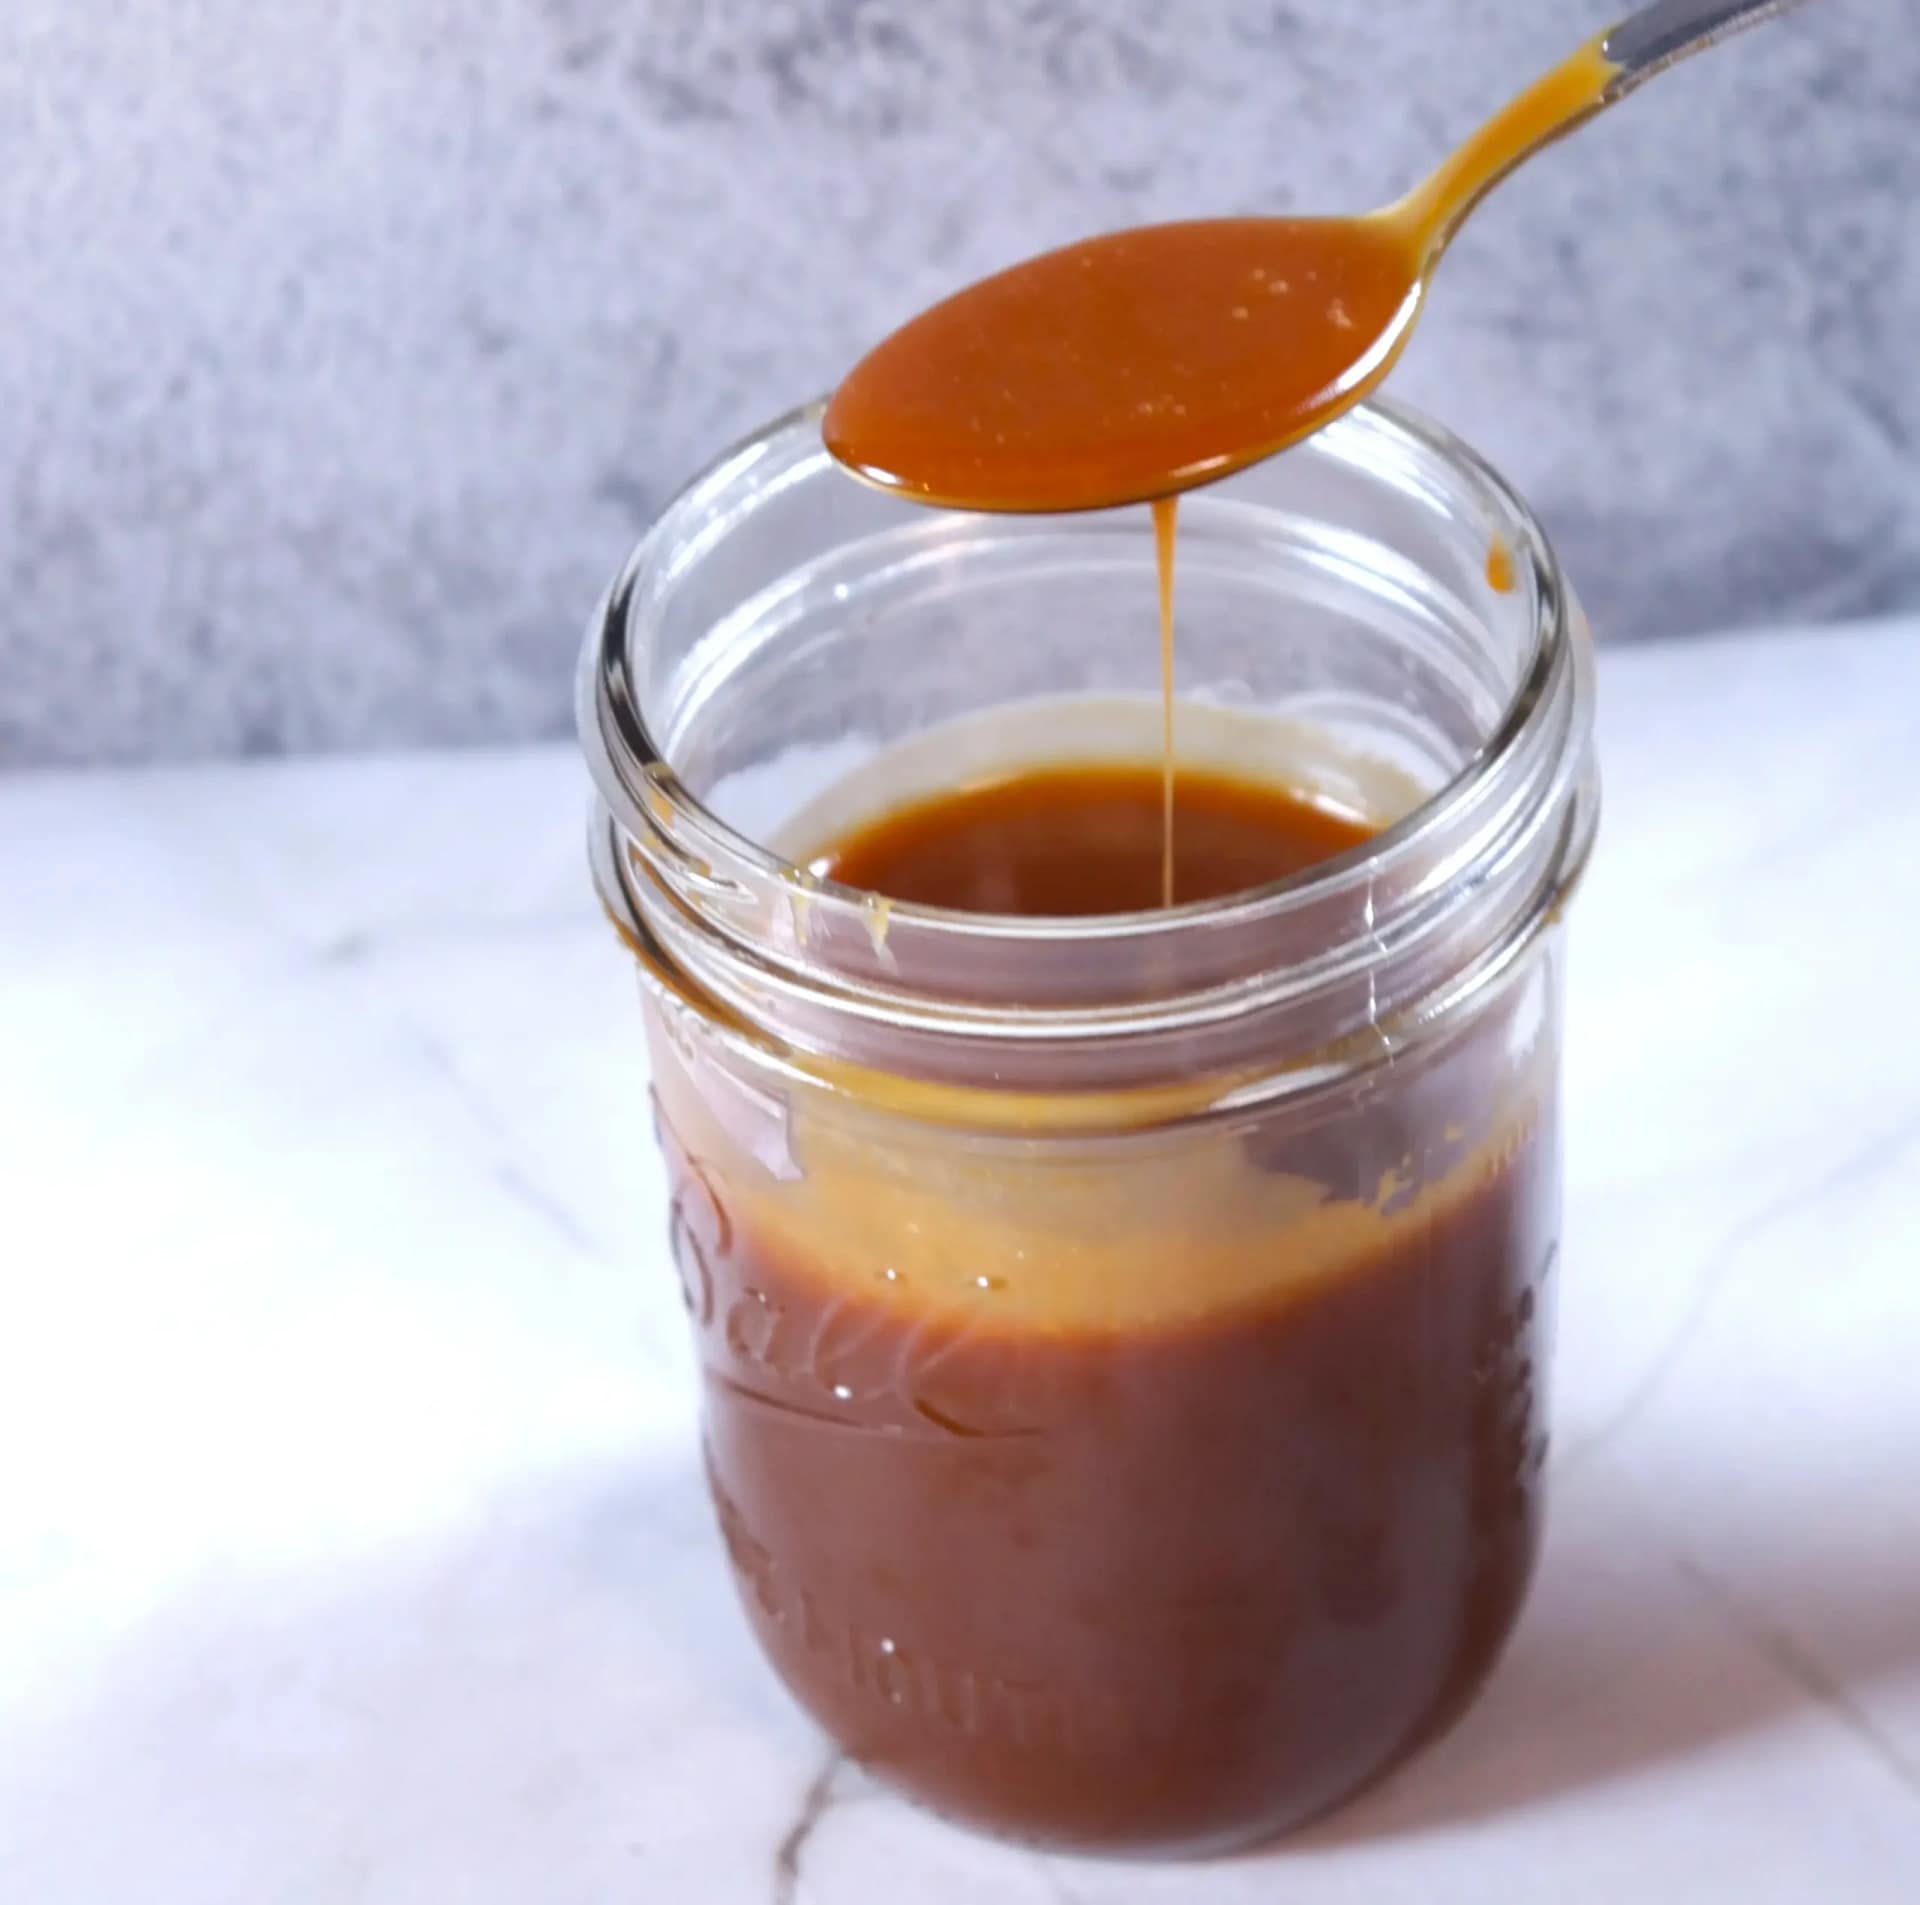
This post may contain affiliate links. Please read our disclosure policy. If you’ve ever been intimidated by making caramel from scratch, you’re not alone. The good news? With a few simple ingredients and a little patience, you can create a smooth, buttery caramel sauce that rivals anything store-bought. Let’s break it down step-by-step so you can…
This post may contain affiliate links. Please read our disclosure policy. Whether you’re a beginner baker or looking to elevate your decorating skills, this royal icing recipe guide will walk you through everything you need to know about royal icing—from how to make it to tips for achieving flawless results every time. If you’ve ever admired…
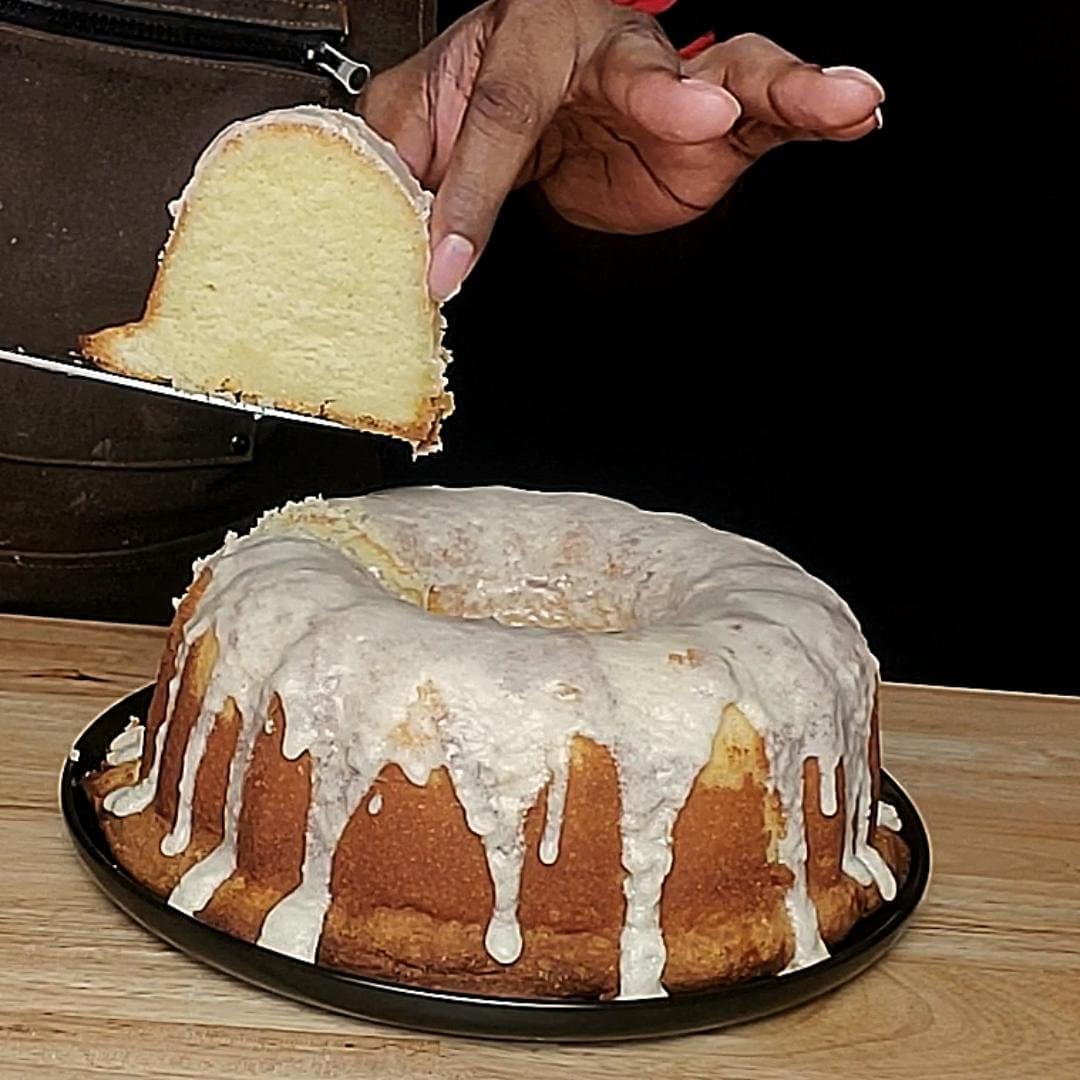
This post may contain affiliate links. Please read our disclosure policy. There’s just something special about a good pound cake—it’s simple, comforting, and always hits the spot. But this 5 flavor pound cake? It takes everything you love about a classic pound cake and turns it into something unforgettable. This southern pound cake recipe will mentally…
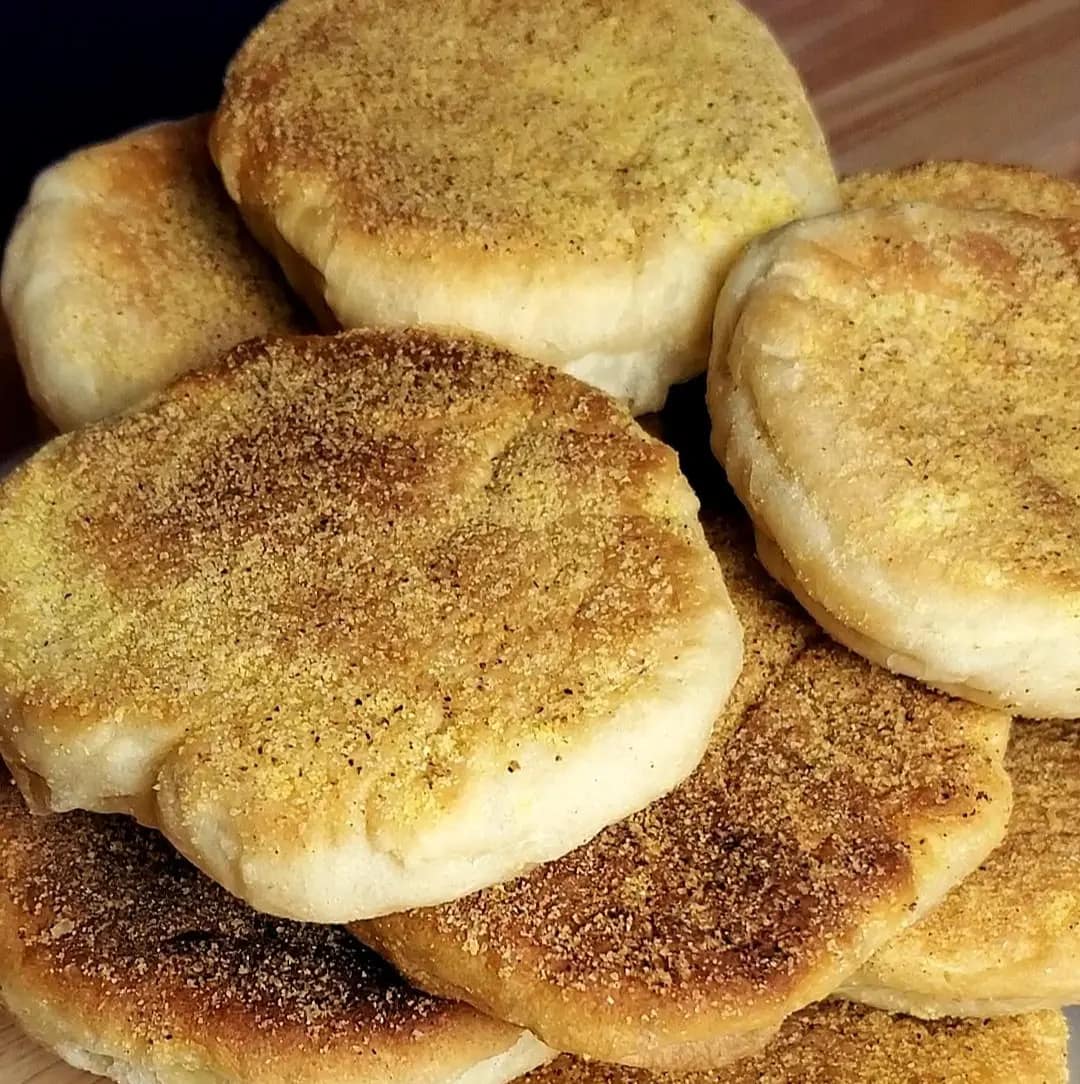
This post may contain affiliate links. Please read our disclosure policy. An English muffin recipe was a no-brainer. English muffins are a timeless breakfast staple known for their crisp edges, soft interior, and signature “nooks and crannies”. They go perfectly with melted butter, jam, or savory toppings. Though the store-bought ones are not anything to write…
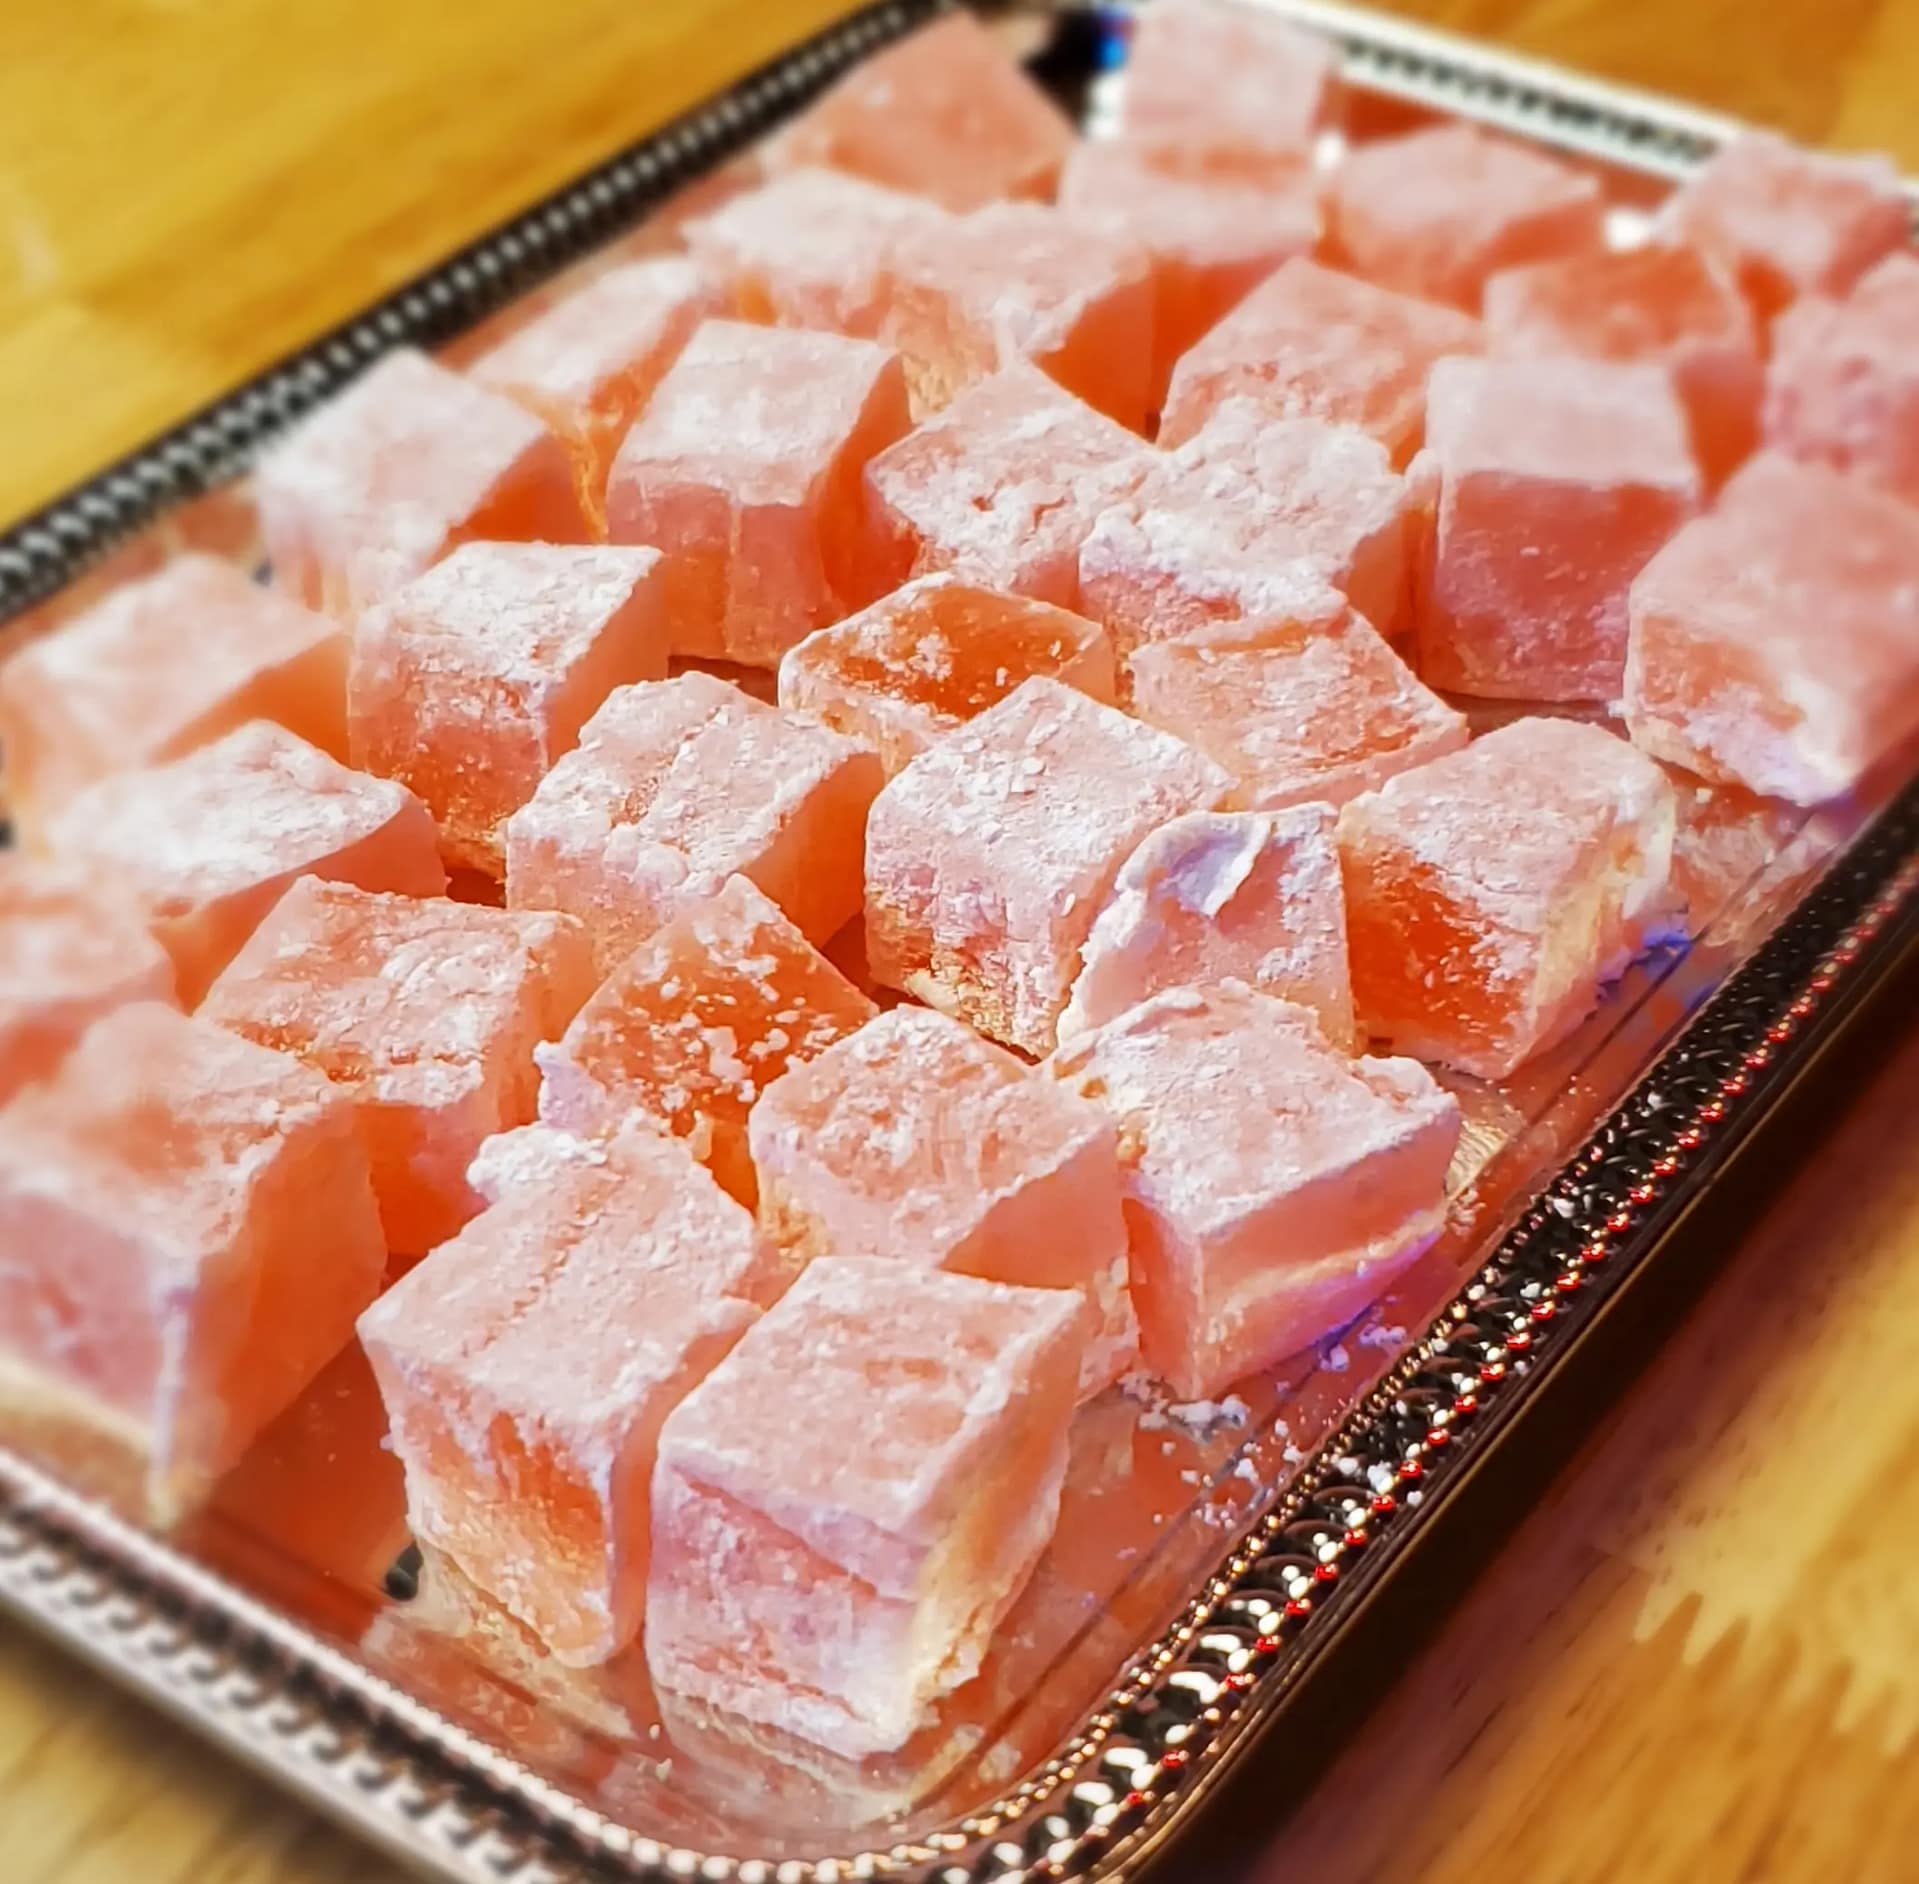
This post may contain affiliate links. Please read our disclosure policy. If you’ve ever dreamed of indulging in a treat that feels both luxurious and timeless, Turkish delight is exactly that. Known for its delicate texture, fragrant flavors, and dusting of powdered sugar, this centuries-old confection has captured hearts (and taste buds) around the world. Whether…
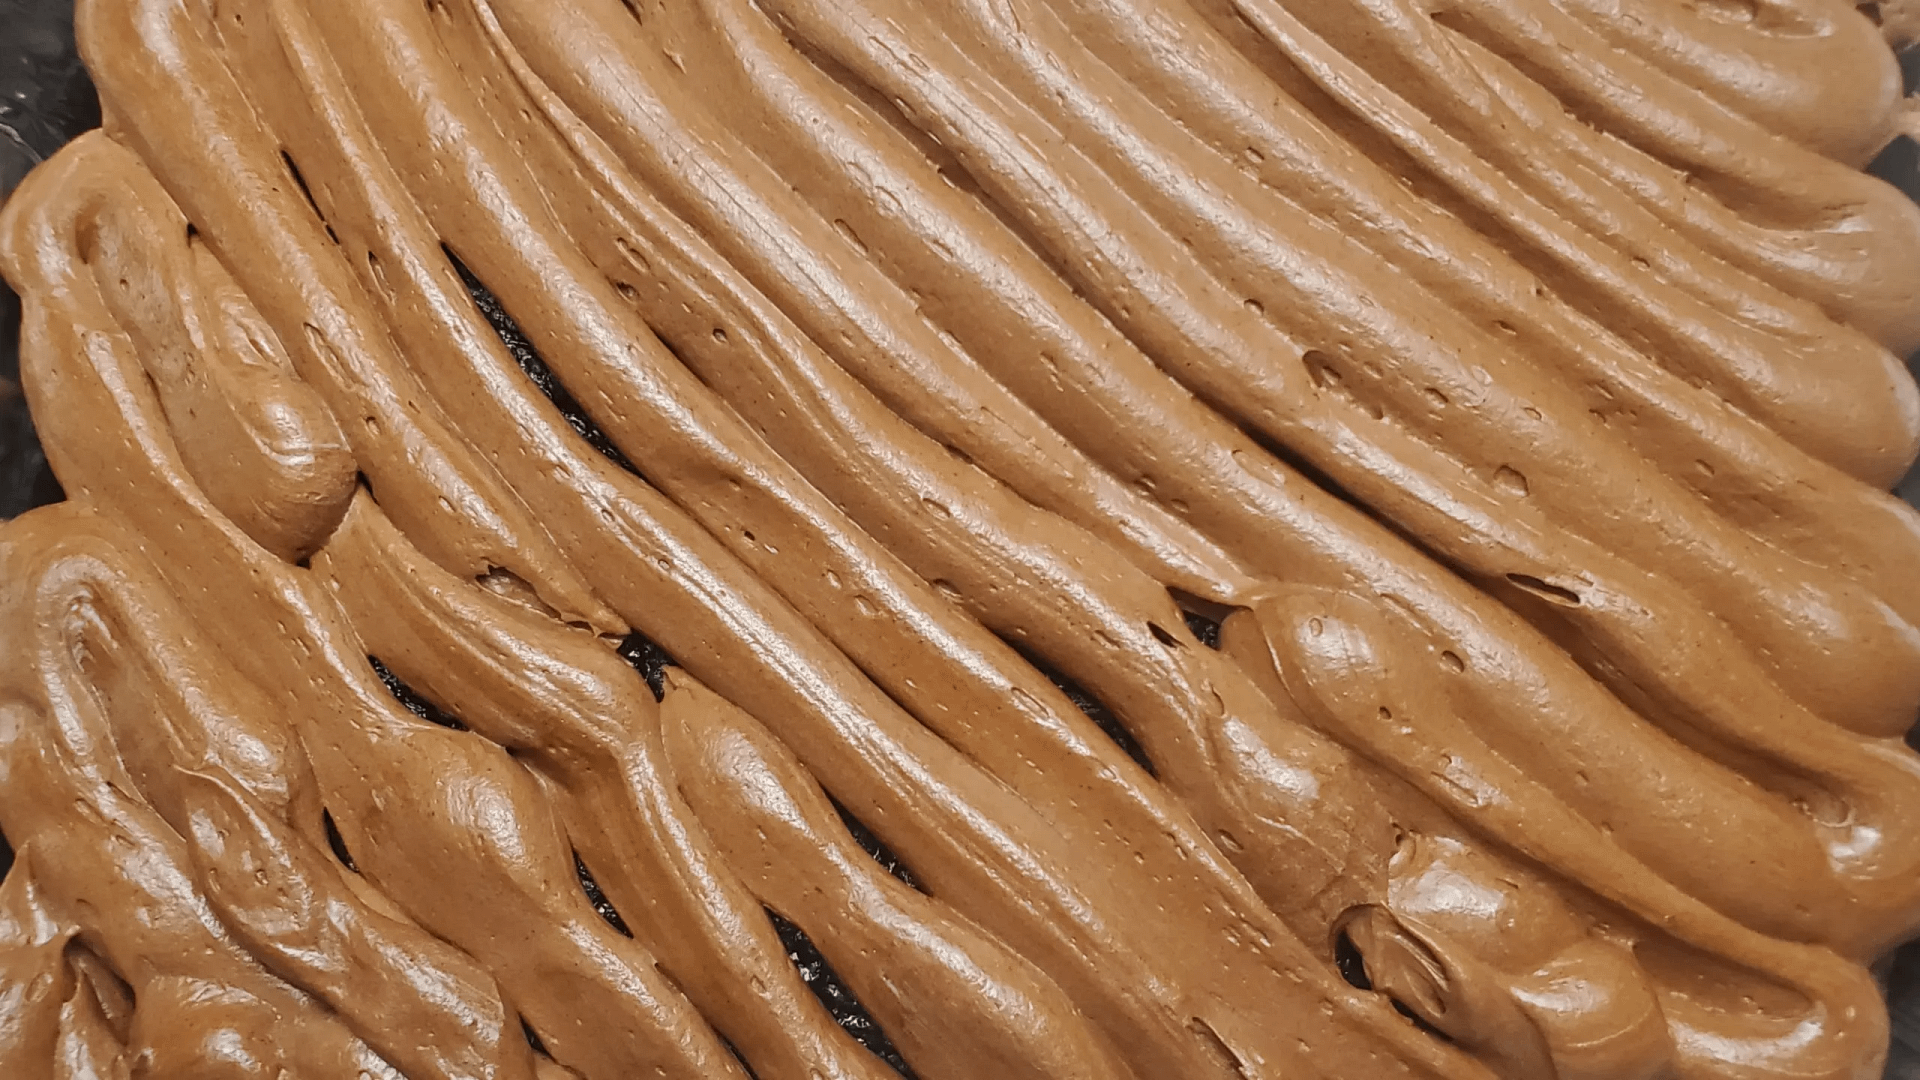
This post may contain affiliate links. Please read our disclosure policy. You don’t know how to make chocolate cream cheese frosting? Well you are in the right place. This recipe is made with a good quality cocoa powder and is super simple to make. This recipe is guaranteed to work every time, and is rich and…