This post may contain affiliate links. Please read our disclosure policy.
Whether you’re a beginner baker or looking to elevate your decorating skills, this royal icing recipe guide will walk you through everything you need to know about royal icing—from how to make it to tips for achieving flawless results every time.
If you’ve ever admired beautifully decorated cookies with smooth finishes and intricate designs, chances are they were made using royal icing. This versatile icing is a staple in the baking world, especially for cookie decorating, and once you learn how to use it, it opens the door to endless creative possibilities. Use this recipe for your holiday sugar cookies.
Ready to try this recipe? Shop my Cookie Decoration Hub for all your cookie decorating essentials.
Table of Contents
- What Is Royal Icing?
- Why You’ll Love This Royal Icing Recipe
- Why Many Bakers Love Royal Icing
- Royal Icing Ingredients
- Ways to use Royal Icing Beyond Cookies
- Royal Icing Recipe
- Common Mistakes to Avoid when making Royal Icing
- Tips for Perfect Royal Icing Every Time
- Understanding Royal Icing Consistency
- How to Store Royal Icing

Why You’ll Love This Royal Icing Recipe
This royal icing recipe is a total game-changer, whether you’re decorating your very first batch of cookies or creating intricate, bakery-style designs. It’s simple, reliable, and delivers beautiful results every single time.
You’ll love it because:
- It’s beginner-friendly – No complicated steps or hard-to-find ingredients. If you can mix and stir, you can make this icing.
- Perfect consistency every time – Easily adjust it for outlining, flooding, or detailed piping without frustration.
- Dries smooth and flawless – Say goodbye to bumpy finishes—this icing sets with a clean, professional look.
- Great for decorating – From simple designs to detailed artwork, it gives you full creative control.
- Customizable colors and flavors – Use gel food coloring to create vibrant shades perfect for any holiday or theme.
- Make-ahead friendly – Prep it in advance and store it for later, making decorating days stress-free.
- Kid-friendly fun – It’s a great way to get the whole family involved in baking and decorating. My nephews used to love when we had cookie decorating parties around Christmas.
Once you try this recipe, you’ll see why royal icing is a must-have for cookie decorating—it turns even the simplest cookies into stunning, edible art. Even if you do not enjoy eating royal icing, as I do not, you will see how it decorates your table for holidays.
What Is Royal Icing?
Royal icing is a smooth, hard-drying icing made primarily from powdered sugar, egg whites (or meringue powder), and water. Unlike buttercream frosting, which stays soft, royal icing dries to a firm finish, making it ideal for detailed designs, stacking cookies, and creating long-lasting decorations.
It’s commonly used for:
- Decorating sugar cookies
- Gingerbread houses or cookies
- Cake accents
- Piping intricate designs
My royal icing recipe below will help you create the best royal icing for all your cookie and cake decorating ideas.

Why Many Bakers Love Royal Icing
Royal icing may seem intimidating at first, but once you get the hang of it, it becomes an essential tool in your baking routine. With just a few ingredients and a bit of practice, you can transform simple cookies into stunning edible art.
Royal icing is popular for a reason—it’s both functional and beautiful.
Key Benefits:
- Dries hard and smooth for a polished look
- Perfect for detailed designs like lettering and florals
- Customizable consistency for outlining, flooding, and piping
- Long shelf life once dried
It’s the secret behind those bakery-style cookies you see all over Pinterest.
Royal Icing Ingredients
Making royal icing is surprisingly simple and requires just a few ingredients:
- Powdered sugar (confectioners’ sugar)
- Egg whites or meringue powder
- Water
- Vanilla or almond extract (optional for flavor)
Egg Whites vs. Meringue Powder
- Egg whites: Traditional method, gives a smooth finish
- Meringue powder: More convenient and widely used, especially for beginners
Most home bakers prefer meringue powder because it’s safer and easier to store.
Ways to use Royal Icing Beyond Cookies
Royal icing isn’t just for cookies—it’s a versatile decorating tool for many baked goods:
- Cake decorations and lettering
- Edible flowers and toppers
- Holiday-themed treats
- DIY edible gifts
Understanding Royal Icing Consistency
Consistency is everything when it comes to royal icing. You’ll typically use two main types:
1. Outline Consistency (Piping)
- Thick and holds its shape
- Used for borders and details
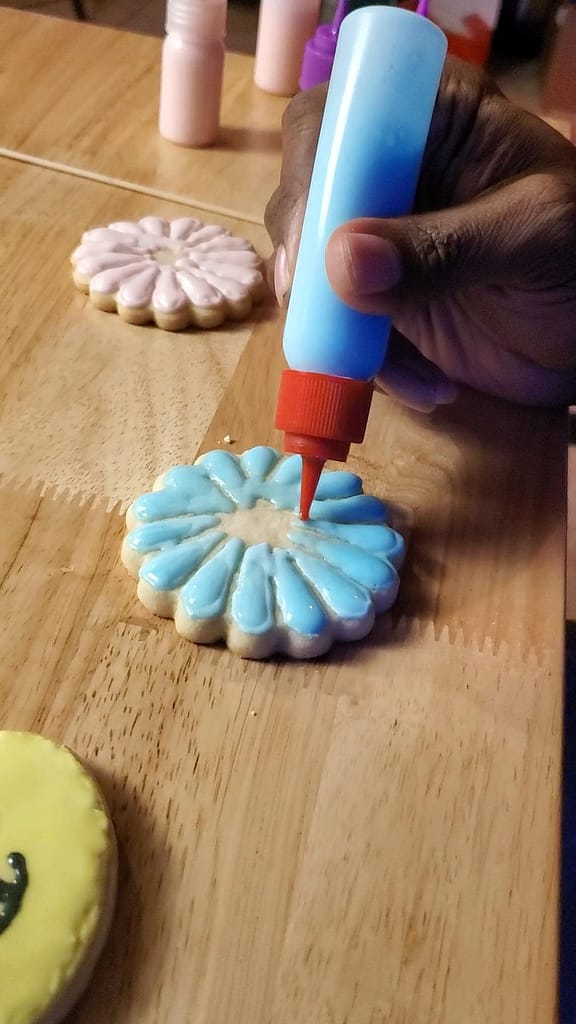
2. Flood Consistency
- Thinner and more fluid
- Used to fill in large areas smoothly
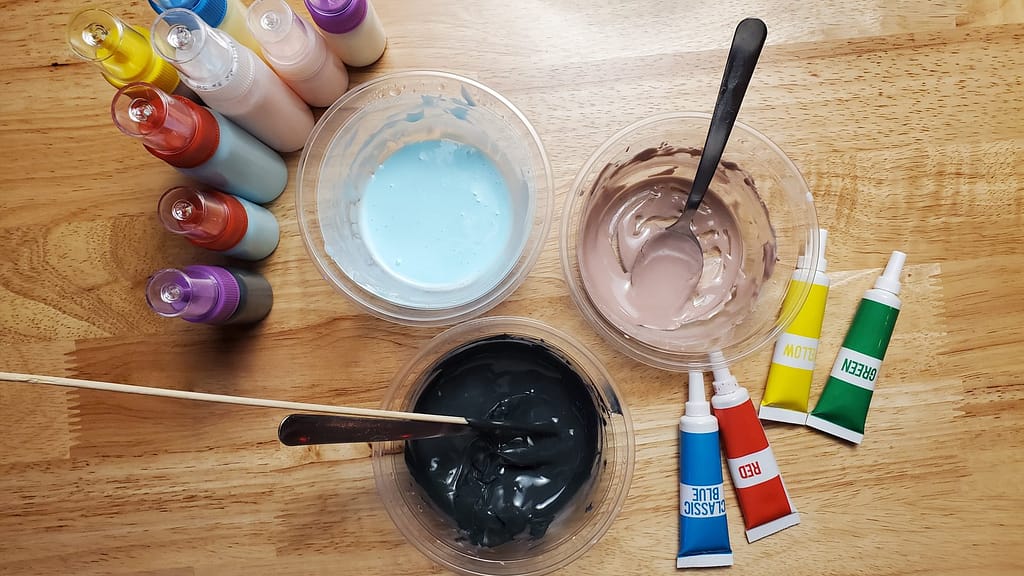
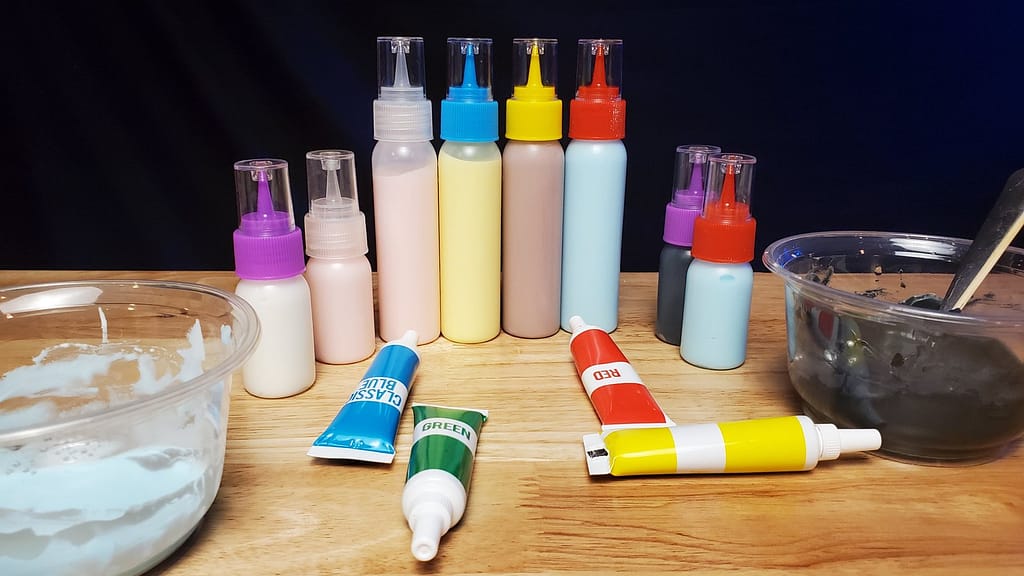
I usually make both an outlining consistency and flood consistency for each color I am working with. In the picture above, I mix my floods in the taller bottles, while my outliners are in the shorter bottles.
Pro Tip: Bakers often refer to “10-second icing”—this means when you drag a knife through the icing, it takes about 10 seconds to smooth out. This is ideal for flooding cookies.
Common Mistakes to Avoid when making Royal Icing
Even experienced bakers run into challenges with royal icing. Here are a few pitfalls to watch for:
- Icing too runny: Causes colors to bleed and lose shape. You can add more powdered sugar to correct this issue.
- Icing too thick: Difficult to pipe and spread. A bit more water a few drops at a time to thin the icing out.
- Air bubbles: Tap cookies gently to release trapped air. You can also use tooth picks, cake testers or anything pointy to pop the bubbles.
- Not covering icing: Royal icing dries quickly—always keep it covered. I use cling wrap right on the surface of the royal icing so it does not form a crusty skin.

Tips for Perfect Royal Icing Every Time
- Use gel food coloring for vibrant colors without thinning the icing
- Cover bowls with a damp cloth to prevent drying
- Use squeeze bottles or piping bags for better control
- Let cookies dry completely (6–12 hours) before stacking
- Practice on parchment paper before decorating cookies
How to Store Royal Icing
Short-Term:
- Store in an airtight container at room temperature for up to 1–2 days
Long-Term:
- Refrigerate for up to a week (re-mix before use)
- Freeze almost indefinitely. Thaw if when you want to use it.
Decorated Cookies:
- Store at room temperature in a sealed container for up to 1 week
Save This Recipe!
Enter your email address and we’ll send it straight to your inbox.
My Latest Videos
Before You Start!! If you make this, please leave a review and rating letting us know how you liked the recipe. This helps our business to do well and continue providing free recipes.

Perfect Royal Icing
Equipment
Ingredients
- 3 tbsp meringue Powder or 3 pasteurize egg whites
- 6 tbsp warm water
- 1 tsp vanilla, peppermint, lemon, or coconut optional
- 4 cups powdered sugar plus more as needed
- gel food coloring This is my favorite gel food coloring kit
Instructions
- In a large bowl, add in the meringue powder, water, and flavoring (if using).
- Beat on medium speed to hydrate the meringue powder mixture until it is foamy (about 1-2 minutes).
- Add in the powdered sugar. Beat until light and fluffy. Royal icing will thicken the more you beat it. I prefer icing having stuff peaks as it will thin when you add food colorings. (If too thick, add a bit more water 1 teaspoons at a time.)
- Royal Icing all about consistency, so it is important to have a flood consistency (thinner and spreads out) and a piping consistency (thicker and holds it's shape).
- If you are coloring your icing, divide the icing into separate bowls and color them the colors you will need for your cookies. I usually squeeze a small dot of color and mix the the bowl until it is the shade I want.
Notes
Nutrition
More Delicious Recipes
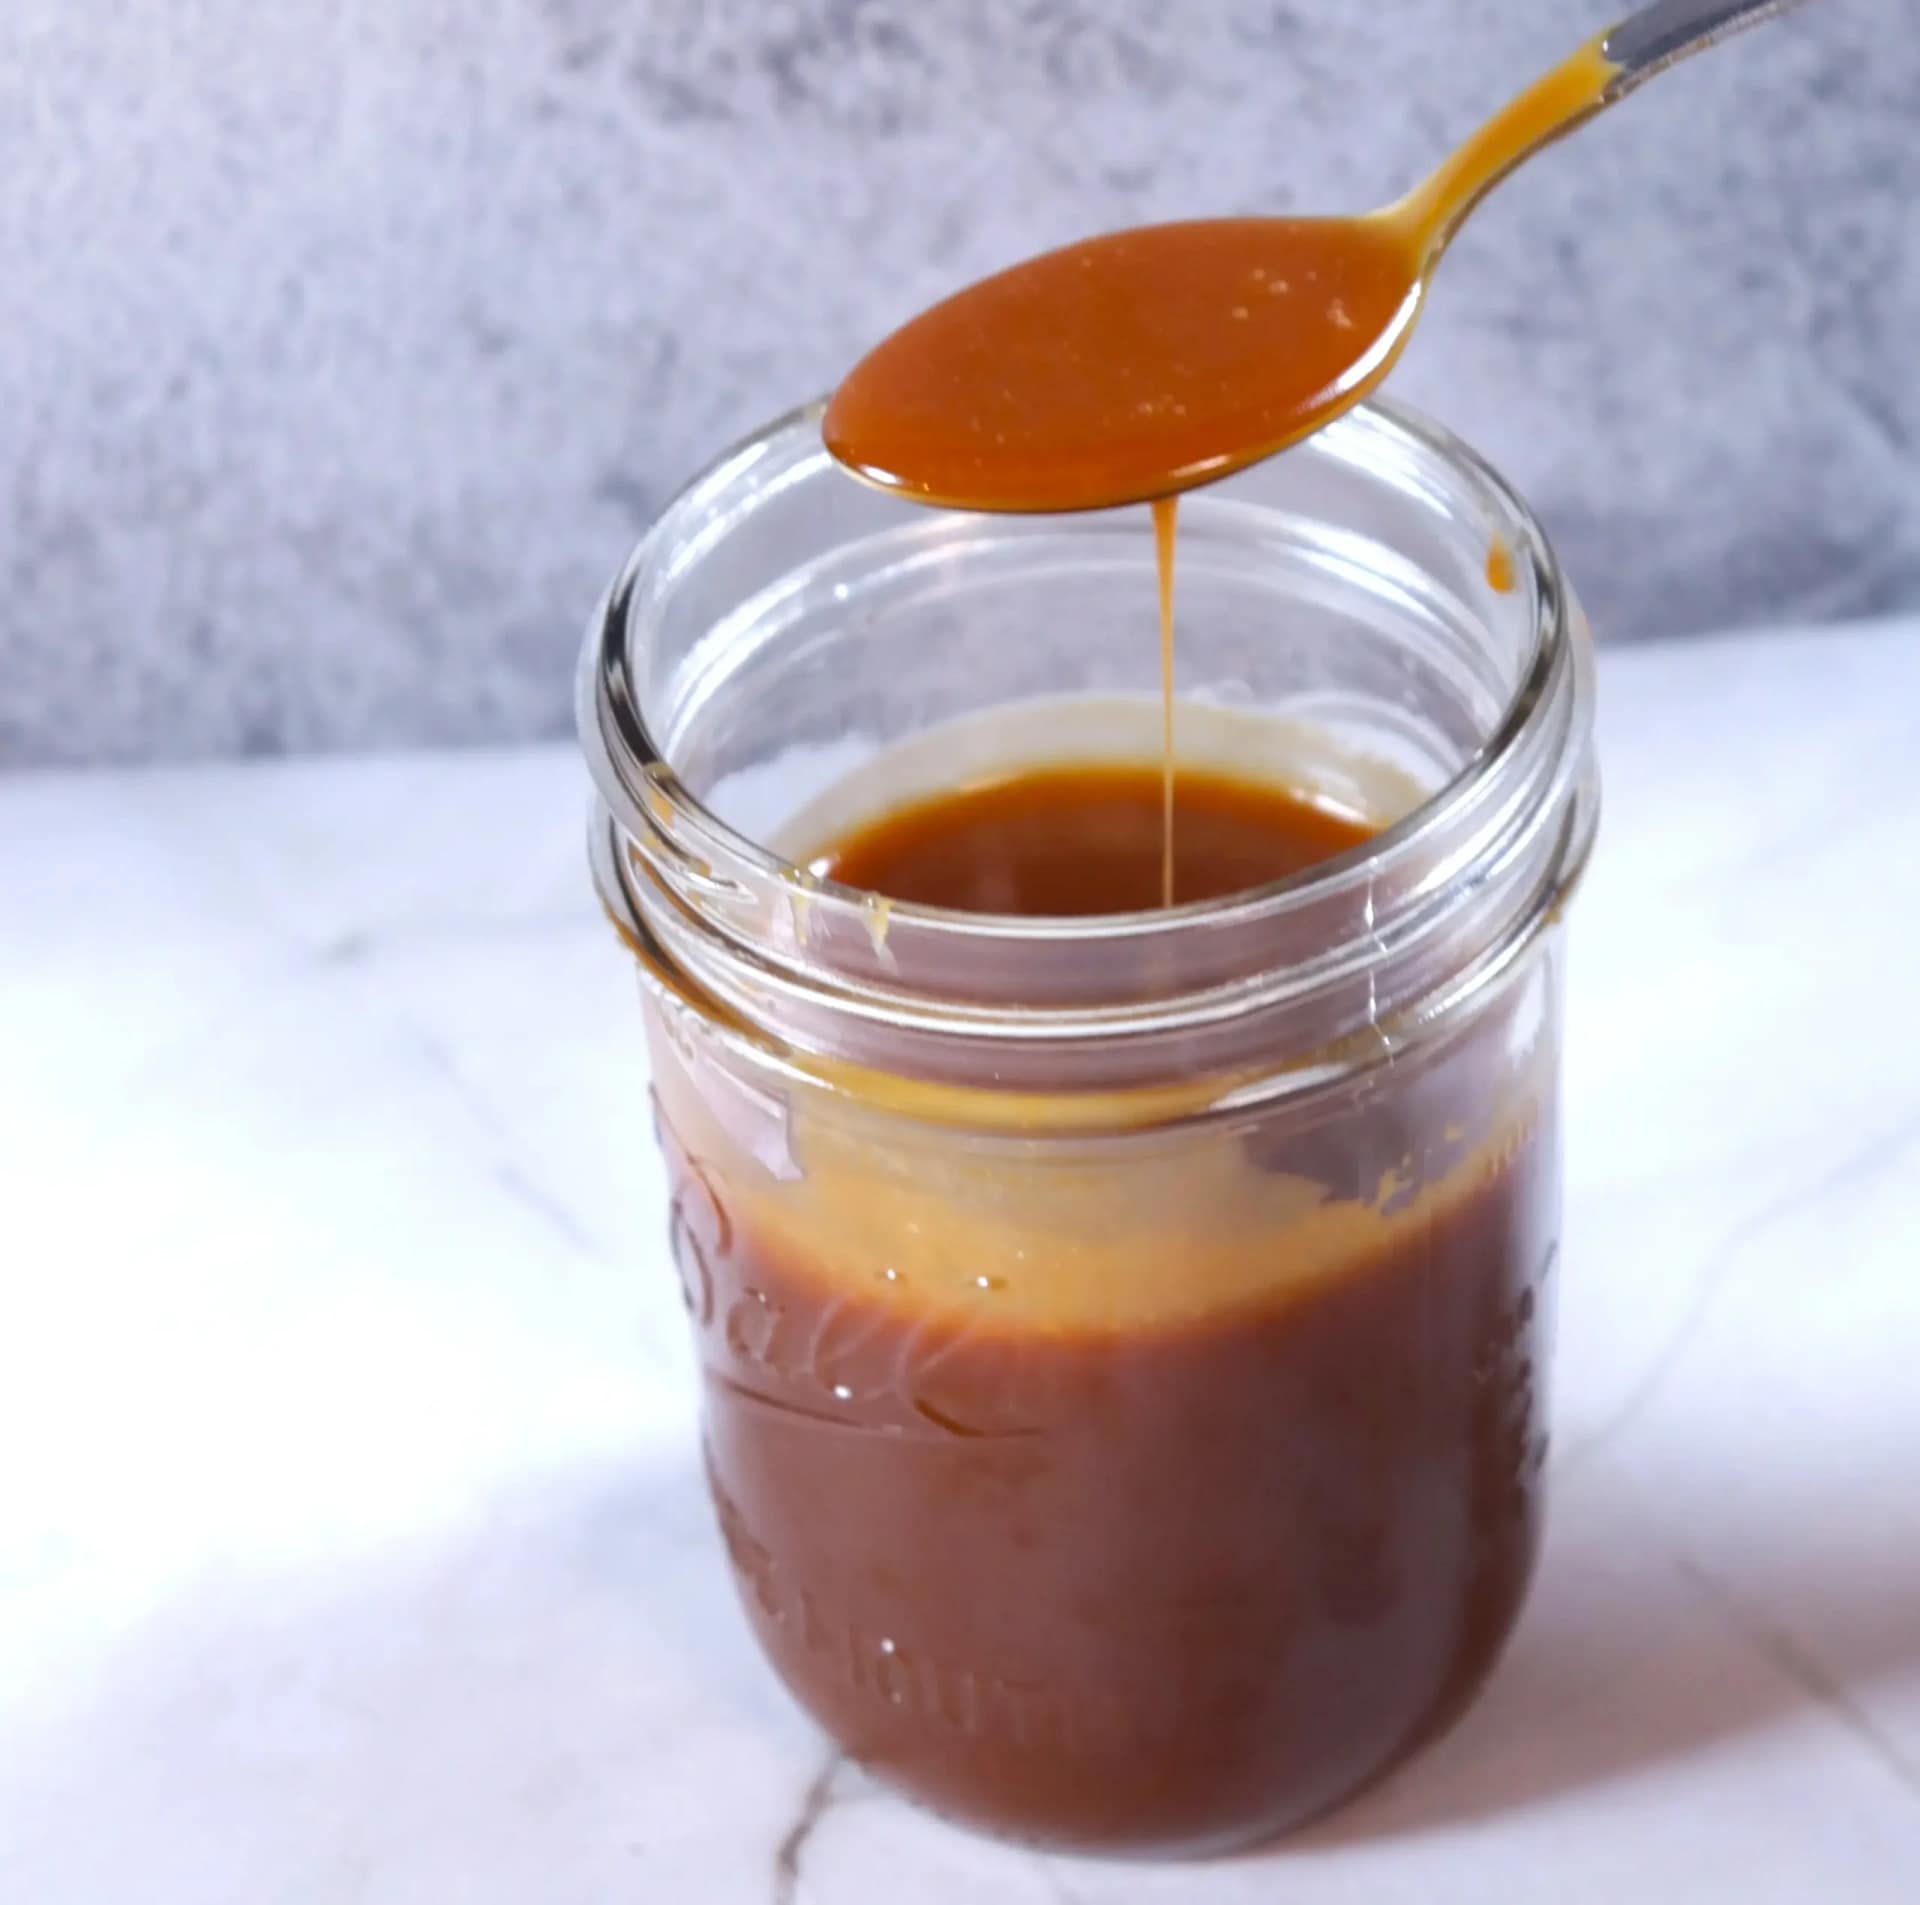
This post may contain affiliate links. Please read our disclosure policy. If you’ve ever been intimidated by making caramel from scratch, you’re not alone. The good news? With a few simple ingredients and a little patience, you can create a smooth, buttery caramel sauce that rivals anything store-bought. Let’s break it down step-by-step so you can…

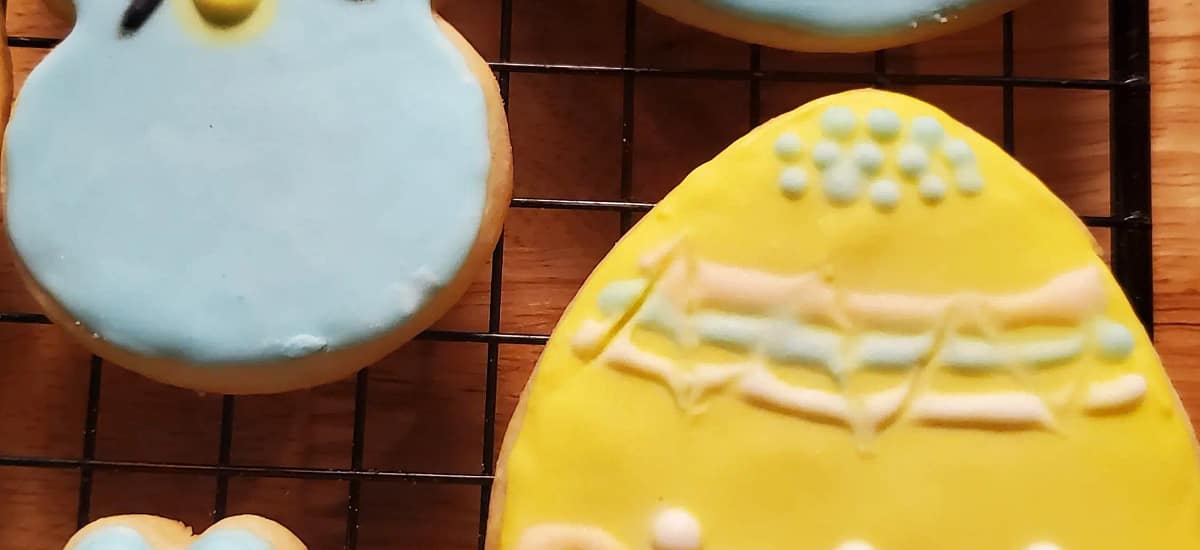
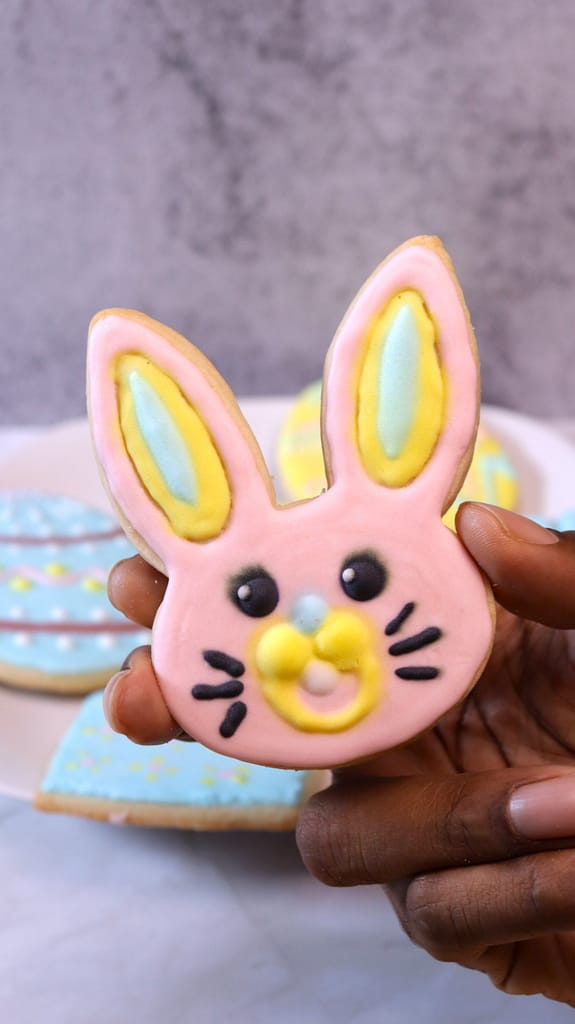
This post may contain affiliate links. Please read our disclosure policy. Whether you’re baking for a family gathering, creating gifts, or simply enjoying a relaxing afternoon of decorating, hand-painted sugar cookies bring a personal and elegant touch to any Easter celebrations. These no spread sugar cookies are perfect to decorate until your heart is content. There’s…
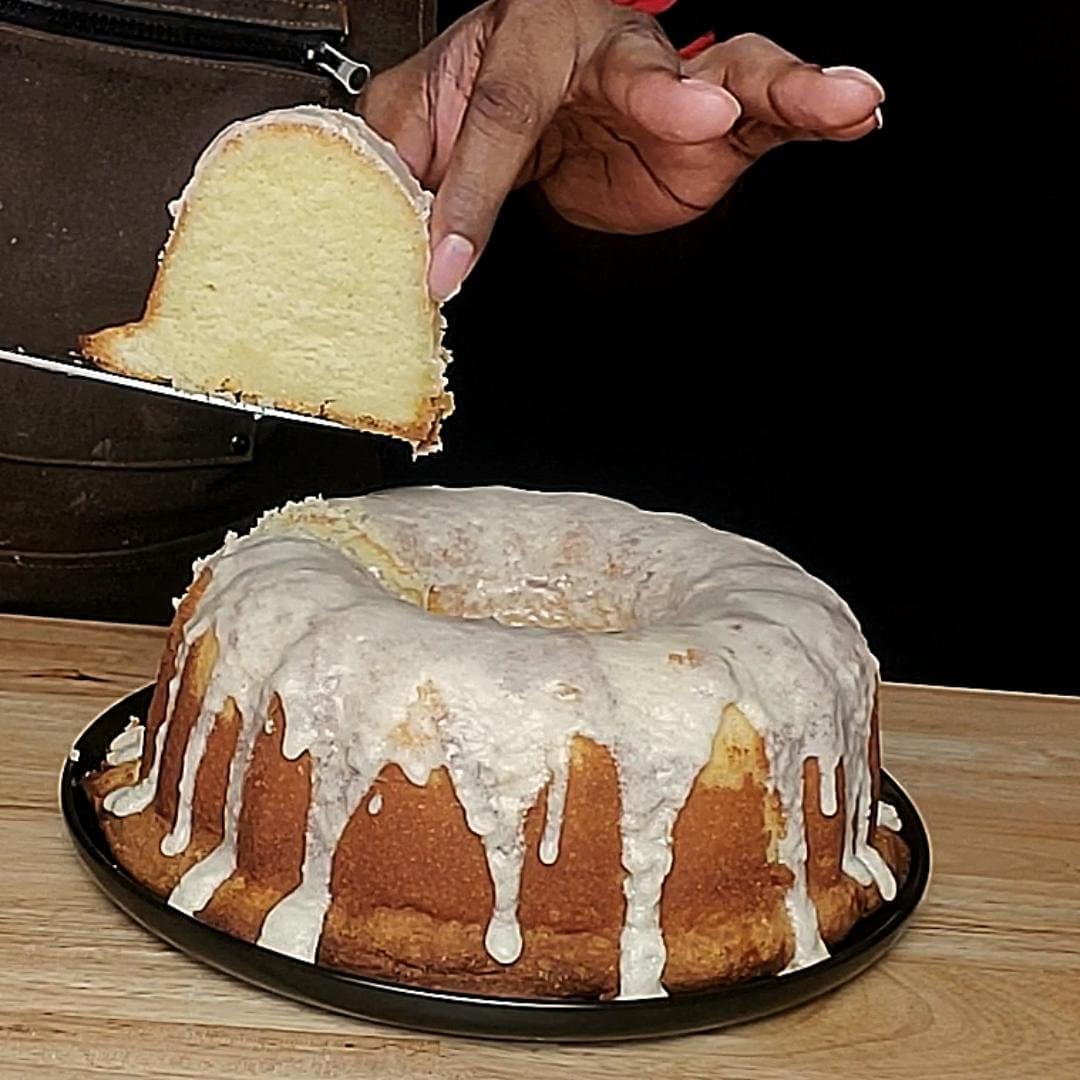
This post may contain affiliate links. Please read our disclosure policy. There’s just something special about a good pound cake—it’s simple, comforting, and always hits the spot. But this 5 flavor pound cake? It takes everything you love about a classic pound cake and turns it into something unforgettable. This southern pound cake recipe will mentally…
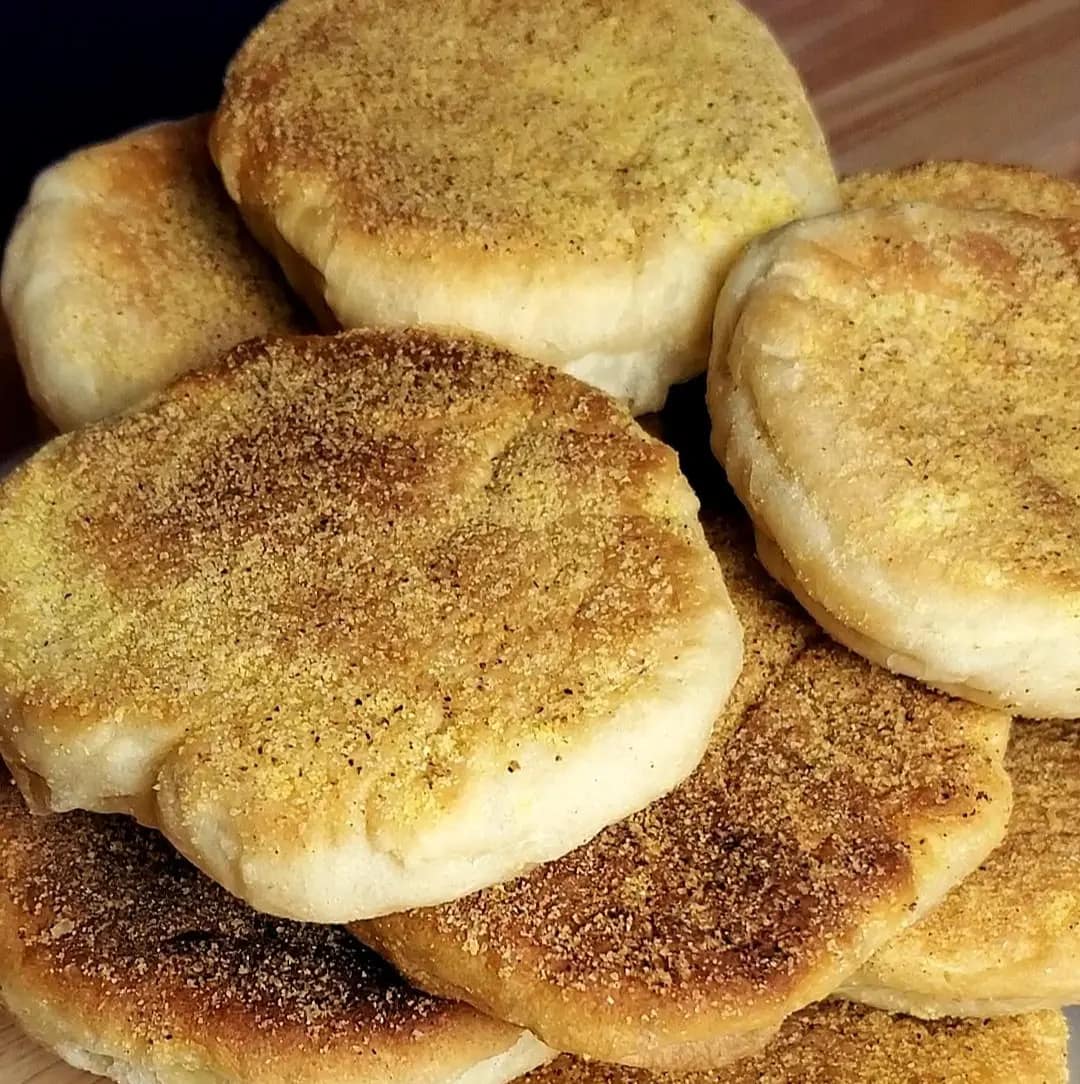
This post may contain affiliate links. Please read our disclosure policy. An English muffin recipe was a no-brainer. English muffins are a timeless breakfast staple known for their crisp edges, soft interior, and signature “nooks and crannies”. They go perfectly with melted butter, jam, or savory toppings. Though the store-bought ones are not anything to write…
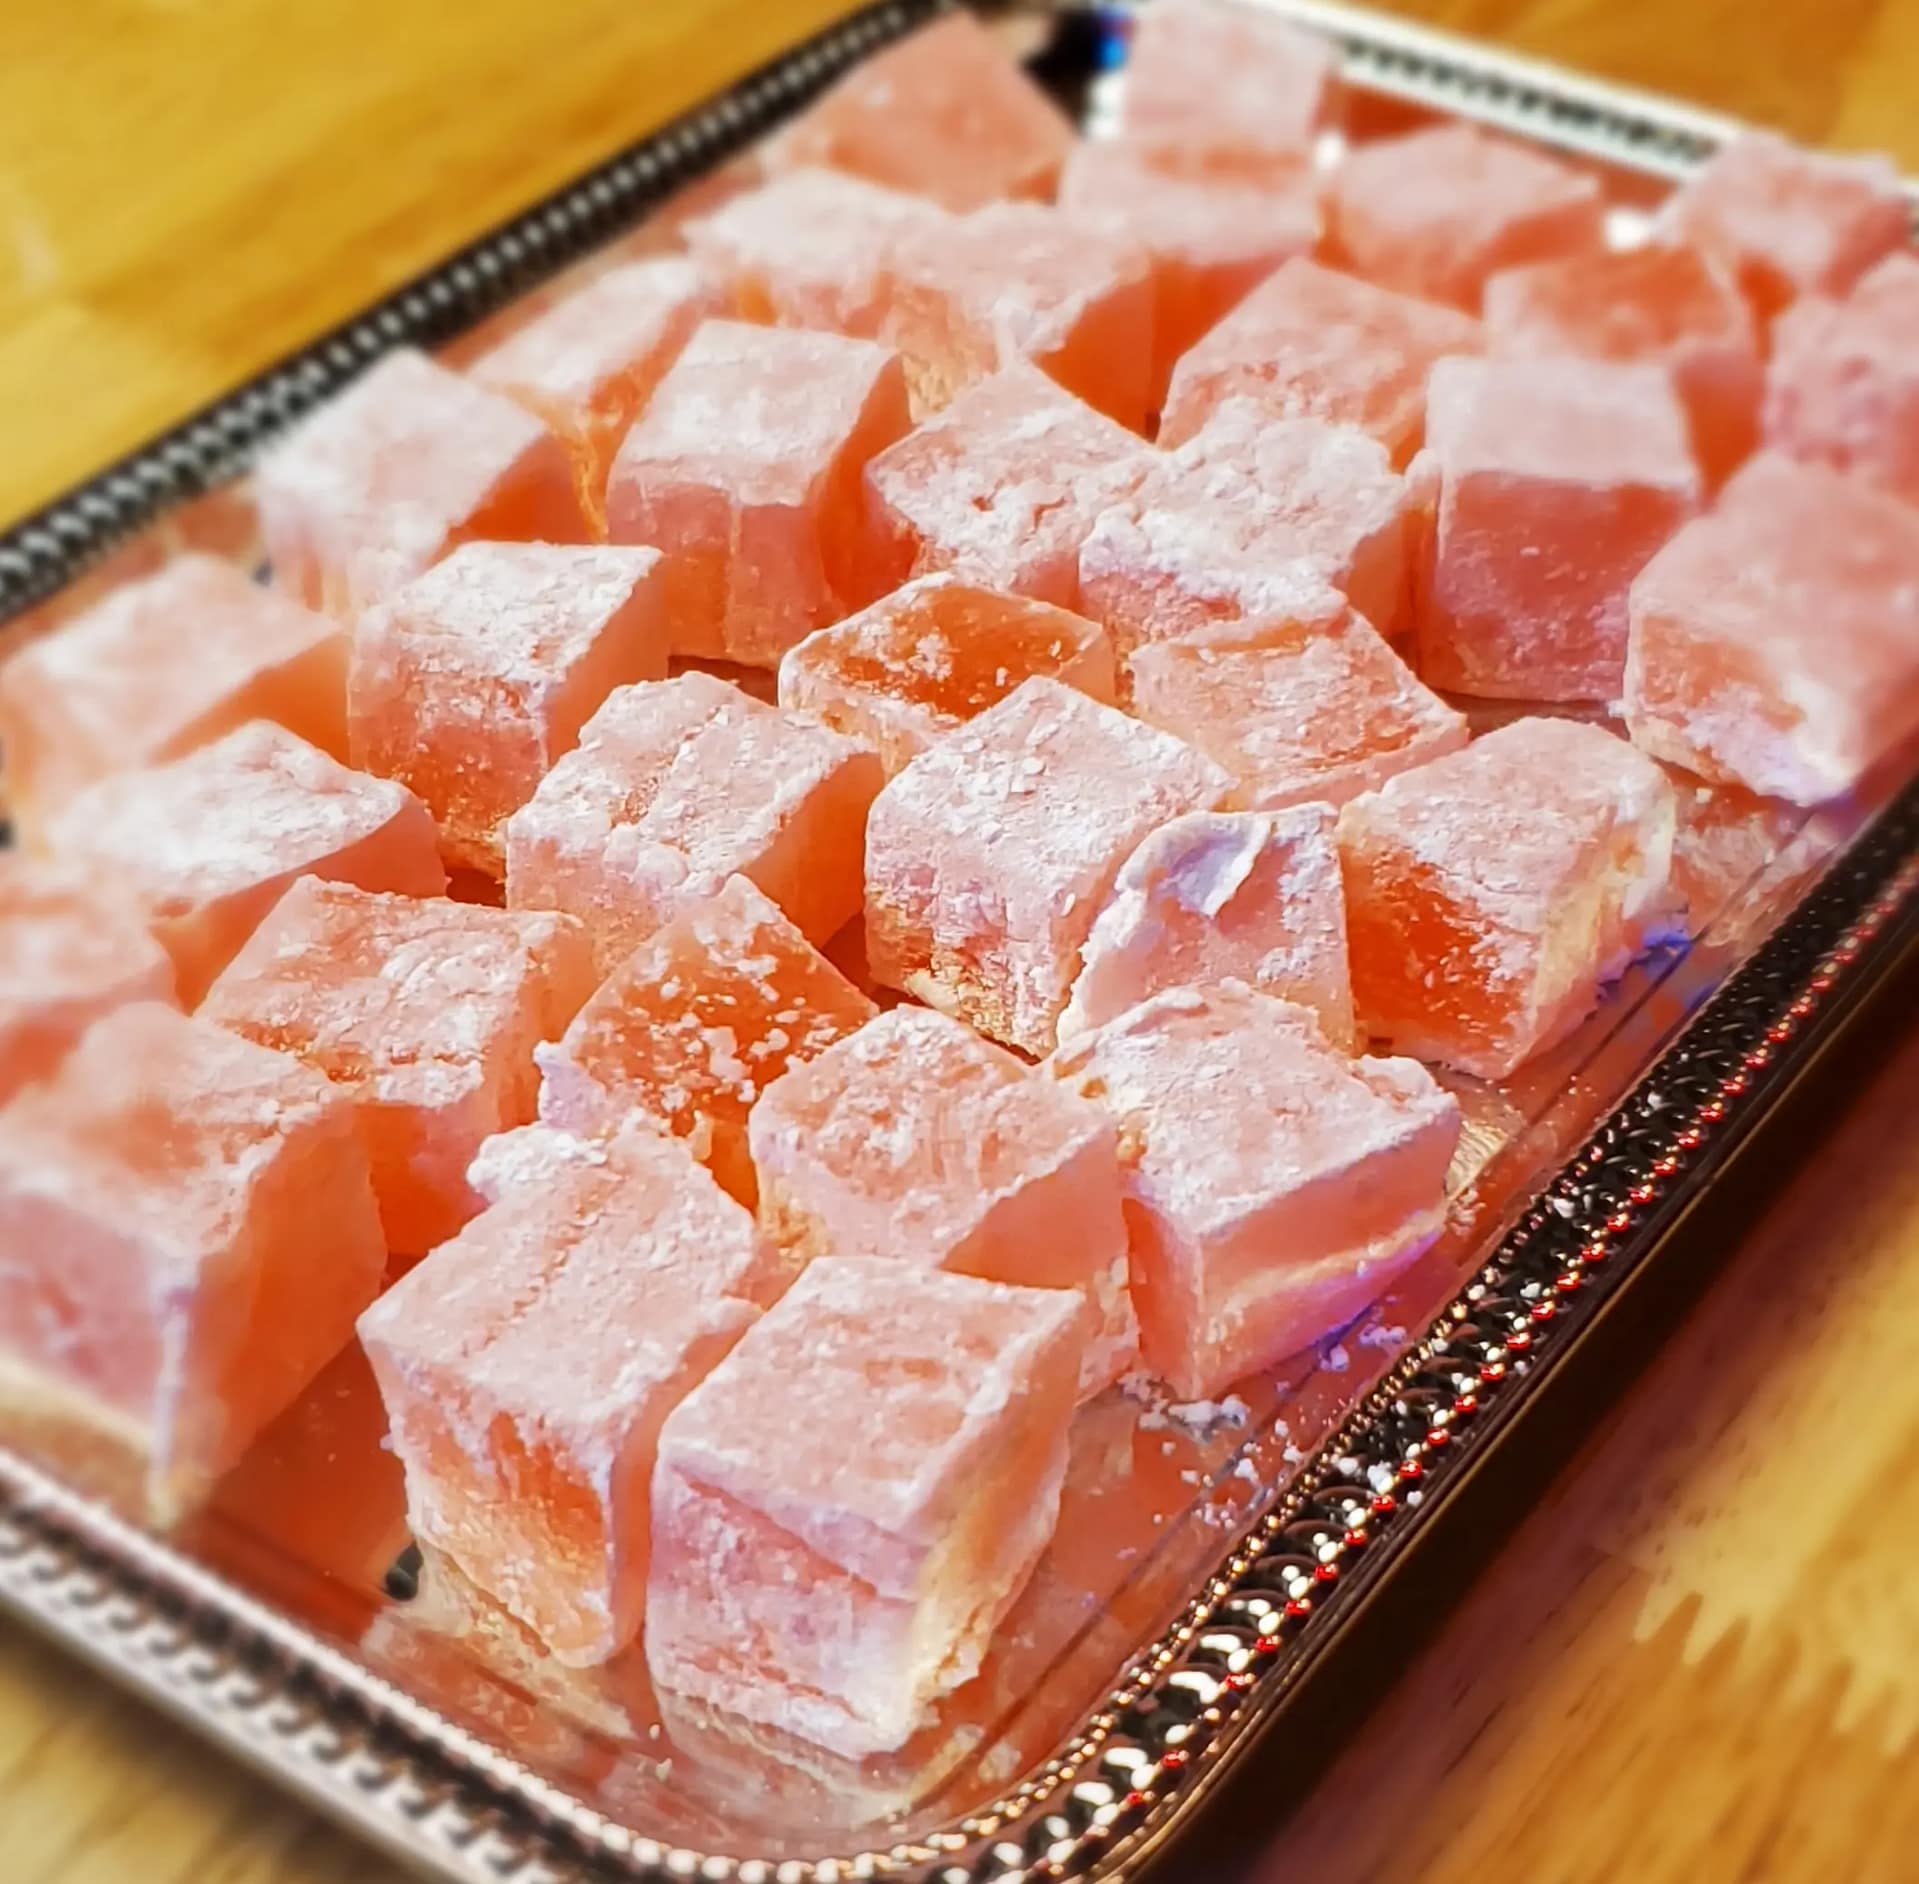
This post may contain affiliate links. Please read our disclosure policy. If you’ve ever dreamed of indulging in a treat that feels both luxurious and timeless, Turkish delight is exactly that. Known for its delicate texture, fragrant flavors, and dusting of powdered sugar, this centuries-old confection has captured hearts (and taste buds) around the world. Whether…
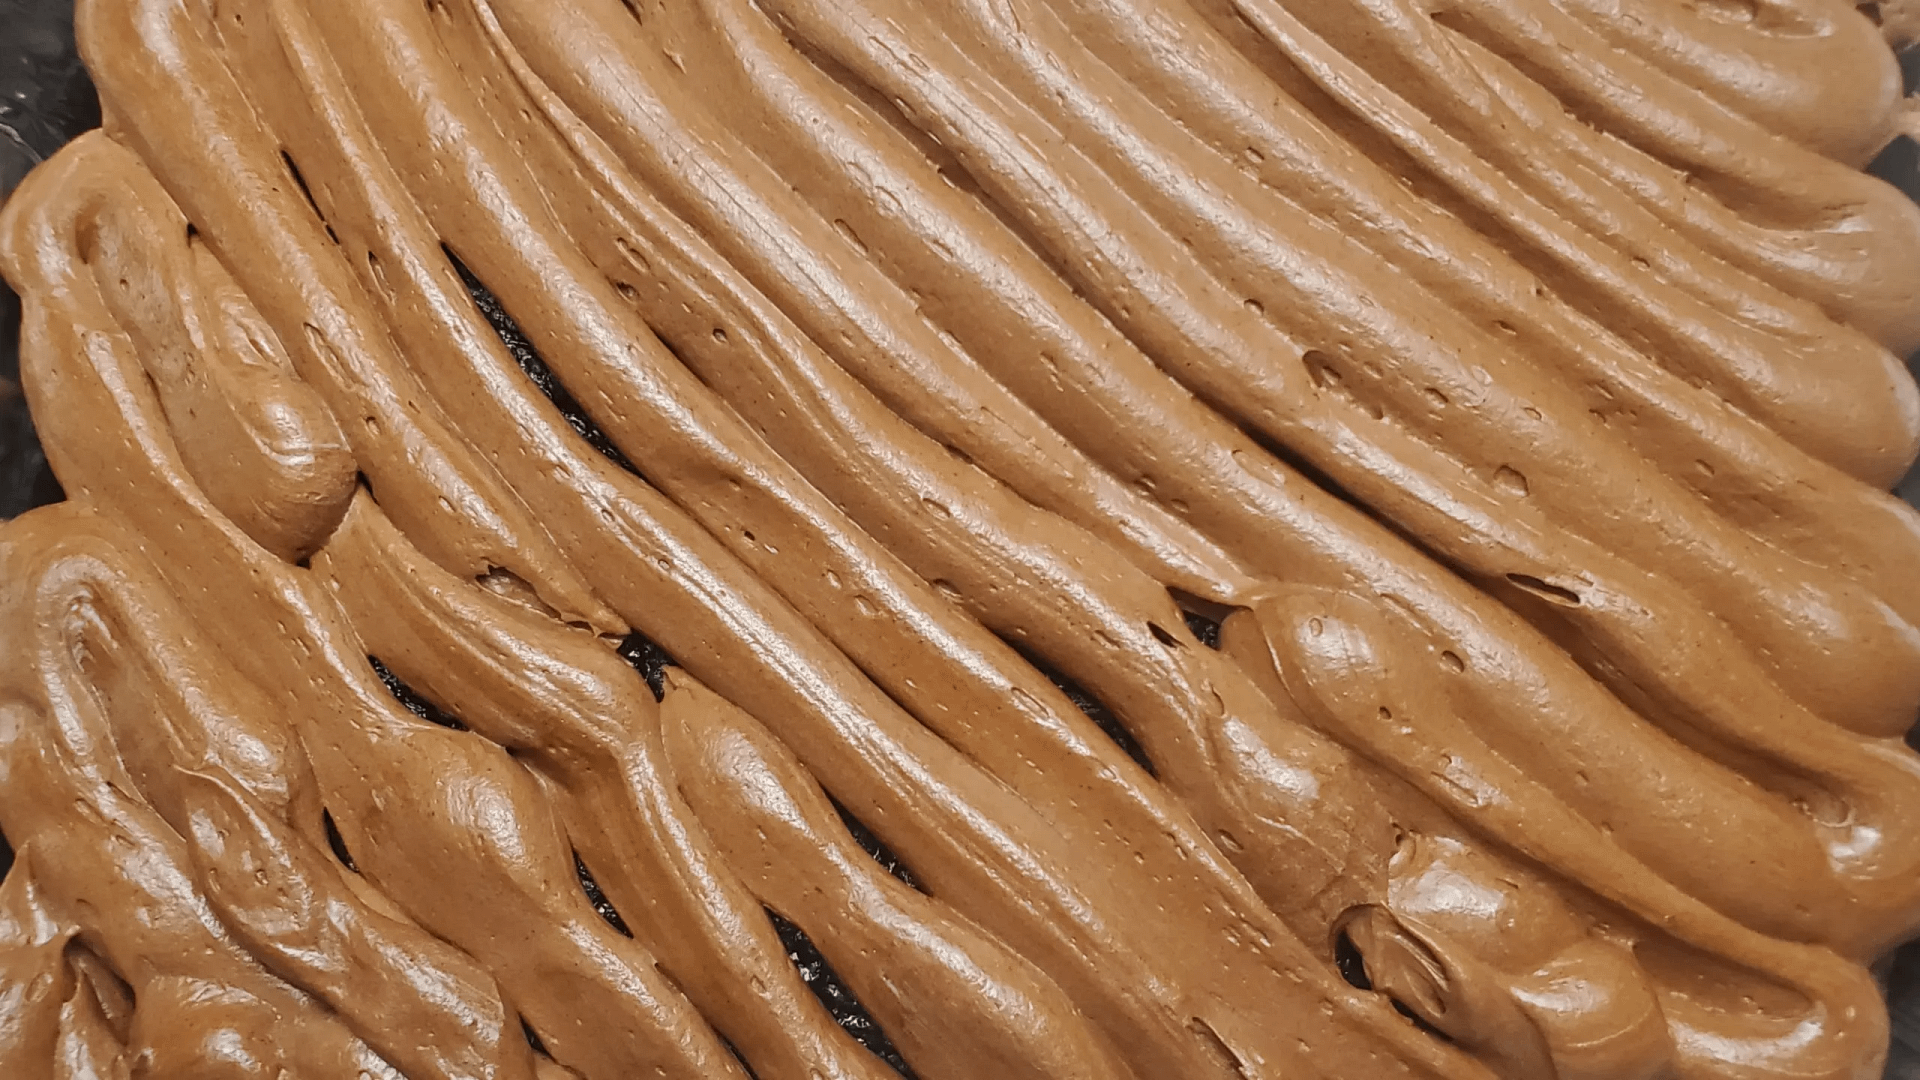
This post may contain affiliate links. Please read our disclosure policy. You don’t know how to make chocolate cream cheese frosting? Well you are in the right place. This recipe is made with a good quality cocoa powder and is super simple to make. This recipe is guaranteed to work every time, and is rich and…